Installing the Cyber Protection Agent (Windows)
Please use the “Print” function at the bottom of the page to create a PDF.
For the MyDefender feature
This article describes how to install the Cyber Protection Agent on a PC or laptop running the Microsoft Windows operating system.
To create the backups, you will need to install the Acronis Cyber Protection Agent on each desired device.
To download and install the Cyber Protection Agent, simply follow the steps below.
Prerequisite
You already activated a backup package in the Cloud Panel.
- Using the device on which you want to install the Cyber Protection Agent, log in to your IONOS account.
If you have both MyDefender and a server contract, click on the Server & Cloud tile. If necessary, select the desired MyDefender contract.
If you only have MyDefender but no server, simply click on the MyDefender tile.
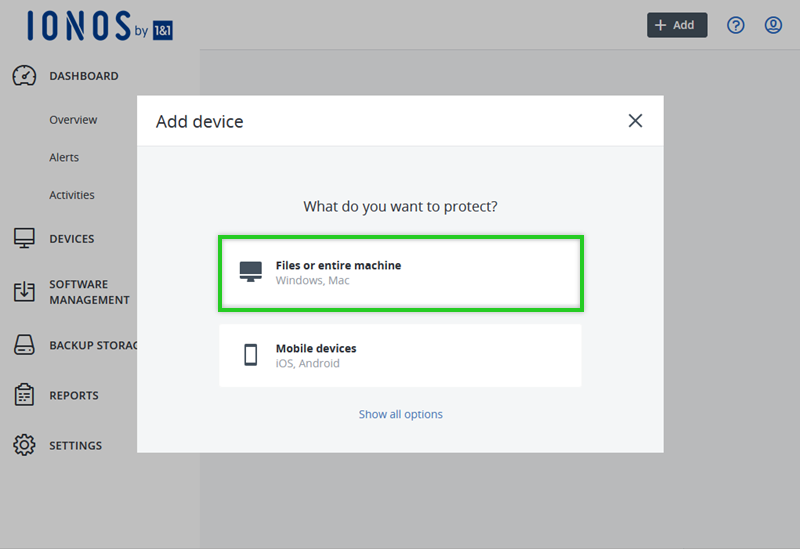
The Backup Console opens and the Add Device window appears.
To add a PC or laptop, click Files or Entire Machine.
Then, click Agent for Windows.
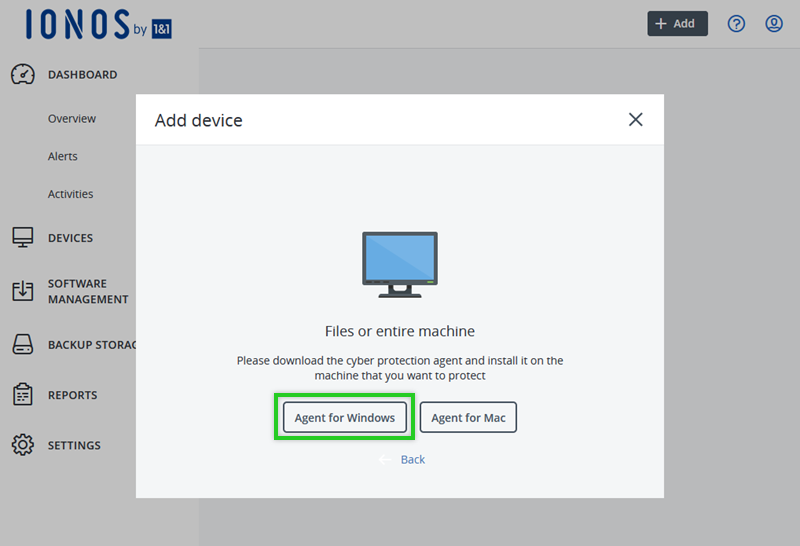
Download the installation file.
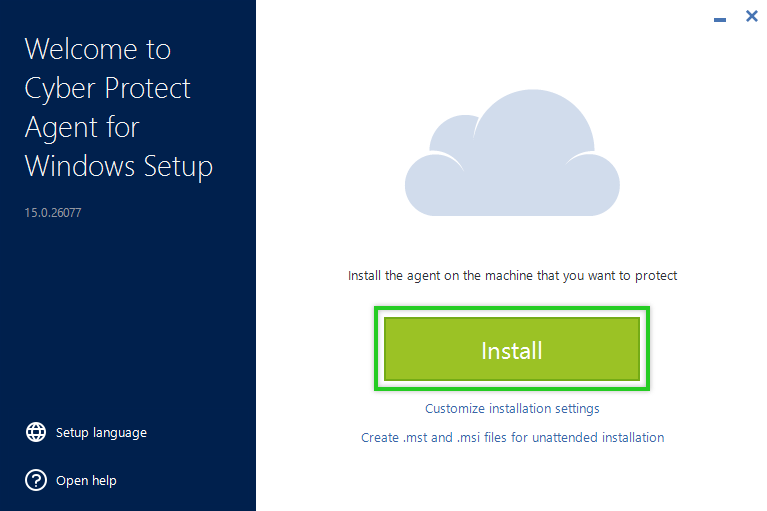
Open the folder where the Cyber_Protection_Agent_for_Windows_web.exe installation file is located and double-click to run it.
Click Install. After the installation is complete, you may need to restart your machine to continue with the following steps.
- Click Register the Machine.
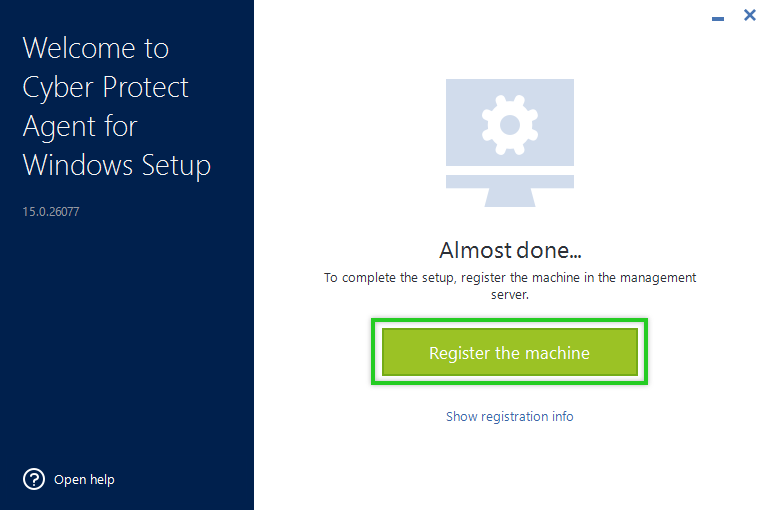
The backup console opens.
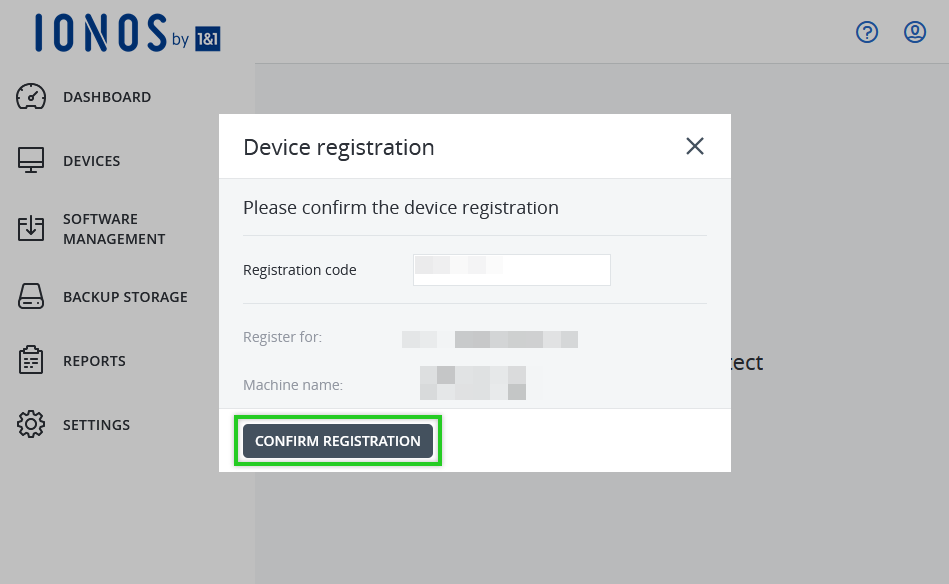
Click CONFIRM REGISTRATION.
Click OK.
The Acronis Cyber Protection Agent has been successfully installed. You can now create your protection plan in the Backup Console.