Editing your firewall policy (VPS and migrated Cloud Servers)
For Linux VPS, Windows VPS, and migrated Cloud Servers managed in the Cloud Panel
You can change a firewall policy at any time. To change a firewall policy, follow the steps below:
- Log in to your IONOS account.
Click Menu > Server & Cloud in the title bar. If you have multiple contracts, select the desired Server & Cloud contract.
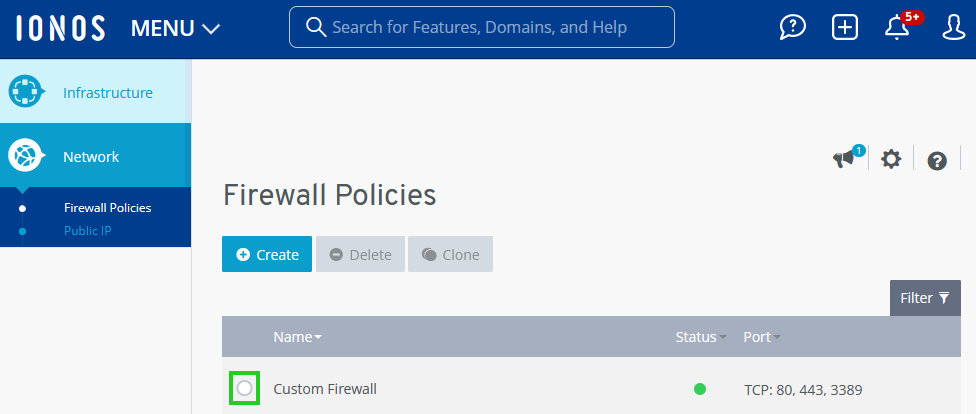
In the Network > Firewall Policies section, select the desired server.
Select the firewall.
In the Configuration section, you can customize the incoming firewall rules.
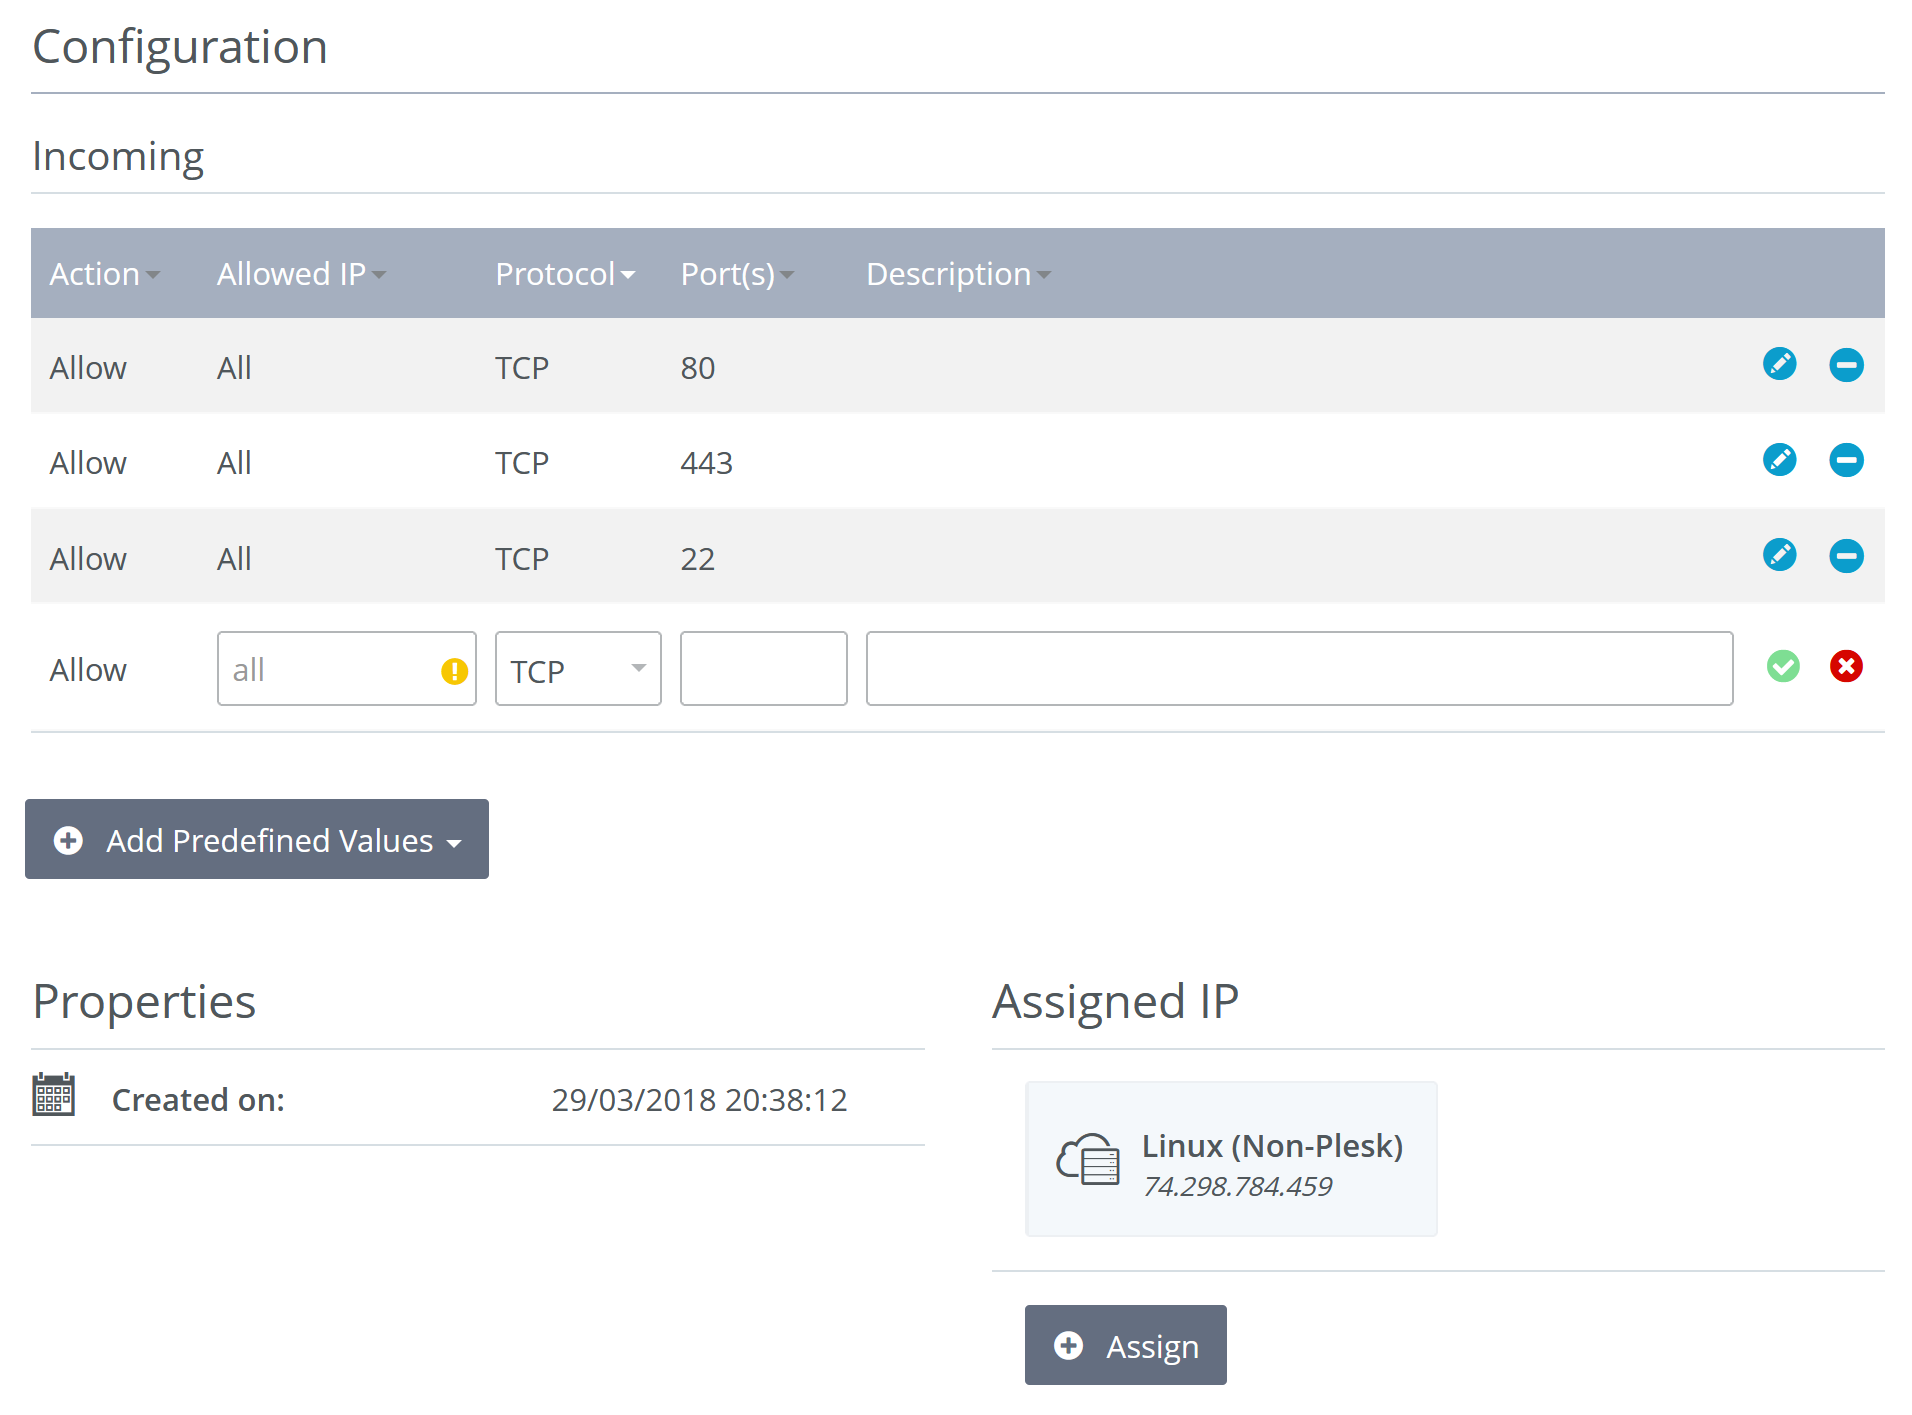
To manually customize a firewall rule, click ![]() next to the rule you want to edit. Then, customize the configuration:
next to the rule you want to edit. Then, customize the configuration:
Custom Firewall Rule
Allowed IP: Enter the desired IP address for which access should be allowed.
Protocol: Select the desired protocol.
Port(s): Enter the desired port. Alternatively, you can enter a port range or multiple ports. To create a rule for a port range, enter the lower and upper range values. Separate these values with a hyphen. Example: 4000-5000.
Description: Enter a description for the firewall rule.
Predefined Firewall Rule
To add a predefined firewall rule, click Insert Default Values. Then, select the rule you want and manually adjust it if necessary.
Some of the available rules are listed below:
Block all ports: Blocks all incoming ports from the server.
Open all ports: Opens all incoming ports of the server.
HTTP: Opens port 80 for incoming requests.
To save the change, click
 .
.
To delete a firewall rule, click ![]() .
.
To add a new firewall rule, enter the desired values in the last row of the table. To save the firewall rule, click ![]() .
.
To reset a new firewall rule, click ![]() .
.
The firewall policy is configured.