Installing a Free SSL Certificate from Let’s Encrypt on Ubuntu
Letsencrypt.org is an open certificate authority, supported by the major browsers: Google Chrome, Internet Explorer, Mozilla Firefox, and the mobile browsers for Android and iOS. Learn how to install an SSL certificate from Letsencrypt.org on a Ubuntu server.
- Secures data transfers
- Avoids browser warnings
- Improves your Google ranking
Connecting to the Server via SSH
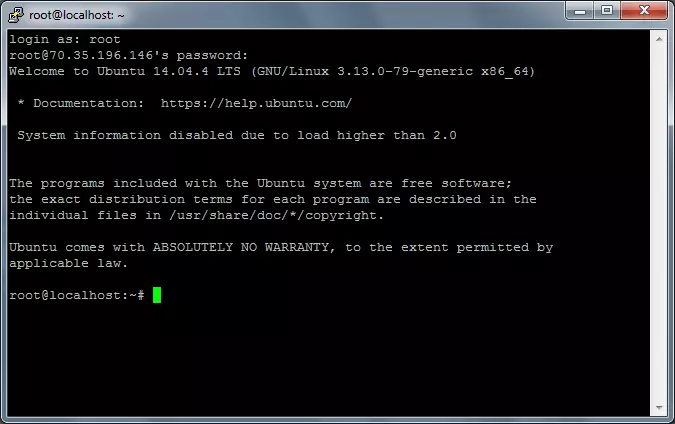
You can establish an encrypted network connection to your server using Secure Shell (SSH).
Computers with Windows Operating systems
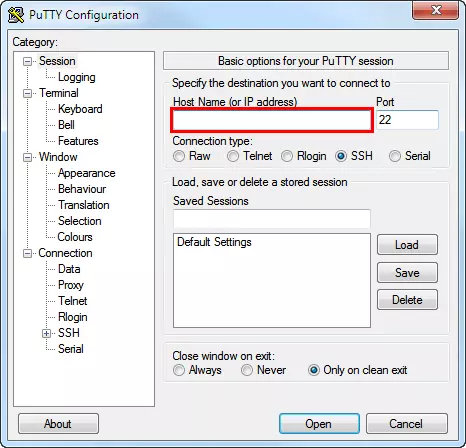
SSH is not installed by default on computers with Windows operating systems. To establish an encrypted network connection using Secure Shell, you need an additional program, e.g. PuTTY.
Computers with Linux Operating Systems
If you use Linux, follow these steps to establish a SSH connection to your server:
- Open a terminal (e.g. xterm)
- Enter the following command in the terminal: ssh root@< SERVER'S IP ADDRESS>
- Example: ssh root@70.35.196.146
- Enter your password.
Updating Your Server
To update your server, enter the following commands:
apt-get update
apt-get upgrade
Pointing your Domain to Your Server IP
To point your domain to your server IP address, follow these steps:
- Log in to your IONOS Control Panel and select the relevant package.
- Click Manage Domains.
- Click the arrow icon next to your domain to display the options menu.
- In the options menu, go to Domain Settings and select Edit DNS Settings.
- Select Other IP address and enter each part of your server’s IP in the field. Each part of the IP is separated by a dot(.). Example: 70.35.196.146
- Click Save.
A confirmation page is displayed, informing you that the changes will be updated accordingly. As with all DNS changes, it may take up to one hour for your changes to propagate throughout the Internet.
Installing GIT
To install GIT:
- You must be logged in to your server.
- Enter the command apt-get install git.
- Enter y and press Enter.
- GIT will be installed.
Installing Apache
To install Apache on your server:
- Enter the command apt-get install apache2.
- Press Enter.
- Apache will be installed.
Cloning the Let’s Encrypt Client
To clone the repository of the Let’s Encrypt Client, enter the following commands:
git clone https://github.com/letsencrypt/letsencrypt
cd letsencrypt
./letsencrypt-auto --help
Installing the Let’s Encrypt Client for Apache
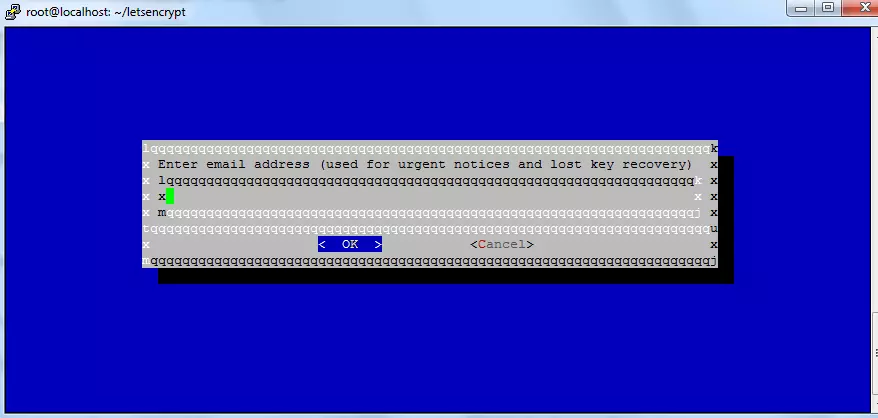
To install the Let’s Encrypt Client for Apache:
Installing MOD SSL in Apache
To install the the MOD SSL in Apache, enter the following command:
sudo a2enmod sslConfiguring VHOSTS
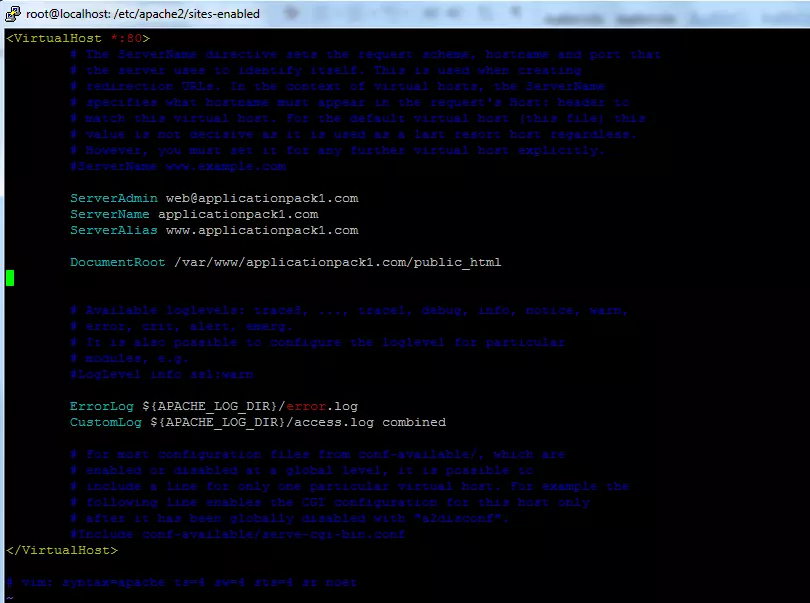
To use the SSL encryption for your website, you have to create two vhosts: one vhost for the website part that will be accessed via HTTP connection (public), and another vhost for the part that will be accessed via HTTPS (SSL).
To become root user, enter the following command:
sudo suRenewing Your Certificate
Your certificate is valid for 3 months. Let’s Encrypt recommends renewing the certificate every 60 days. To renew the certificate, enter the following command:
./letsencrypt-auto certonly –webroot –w /var/www/YOURDOMAIN /public_html/ -d YOURDOMAIN.comExample:
./letsencrypt-auto certonly –webroot –w /var/www/applicationpack1.com/public_html/ -d applicationpack1.com


