How to create a Minecraft Docker server
Having your own Minecraft Docker server is great for going on online adventures with friends in the popular block world. All you need is the right hosting environment and the Docker image “Docker-minecraft-server”. Once you’ve got these, the installation and configuration can easily be done with the Docker Engine.
Should I host a Minecraft Docker server on my own PC or in a data center?
If you want to play Minecraft online with others, having your own server is the best solution. By hosting the game yourself, you have total freedom when it comes to the map, game mode, difficulty, mods, etc.
In theory, you can run a Minecraft Docker server directly on your own private computer. This will, however, put a strain on your device’s performance and comes with its own set of disadvantages. One of the major disadvantages is that the server will only be online when your computer is switched on. As soon as you turn it off, nobody else will be able to access the game’s world. On top of this, the server’s performance depends heavily on your internet connection.
With a hosting provider, you won’t need to worry about such problems. Data centers operated by professional providers have excellent broadband connections and modern, reliable hardware. Hosting in a data center also means your Minecraft Docker server will be accessible 24/7.
What are the system requirements for a Minecraft Docker server?
The requirements for a Minecraft Docker server are split into three parts: the requirements for the base operating system; the requirements for the Docker software and the requirements for the Minecraft server itself. While the requirements for the first two are fairly clear, the server’s requirements depend a lot on how the game is being used (number of players, size of the map, mods, etc.).
The minimum requirements are:
- Processor: 2.8 GHz or higher (4 vCores+)
- Memory: 8 GB
- Hard drive: 80 Gigabyte
The typical Linux distribution (64-bit) operating systems can be used. Docker runs on CentOS 7, Debian 8 and Ubuntu 16.04 in addition to other operating systems. Microsoft systems have supported the container software (Docker Enterprise Engine) since 2016, however, the image “Docker-minecraft-server” is currently only available for Linux distributions.
The Minecraft developer Majong recommends the following bandwidth 5 Mb/s for 1–2 players and up to 45 Mb/s for 6 or more players. If you decide to host your server with a provider, this shouldn’t be a problem. IONOS, for example, guarantees an external broadband connection with up to 400 Mb/s (regardless of server type).
Which Minecraft Docker server options does IONOS offer?
With IONOS, you have three different options available for Minecraft Docker server hosting. These vary, among other things, in terms of their pricing and level of virtualization.
If you rent a cloud server or a vServer (VPS) from IONOS, you will gain access to hardware resources that are completely virtualized. The difference between the two is predominantly how you pay. With the cloud server you pay by the minute for the services you’ve used. With a vServer, you pay a fixed monthly rate for the option you’ve chosen.
On the other hand, if you choose a dedicated server, you will have access to dedicated hardware, which is just for you. This model is also billed by the minute and is, therefore, higher than the virtual alternatives.
Rent a dedicated server from IONOS now. This will give you the perfect hardware setup to host Minecraft and Docker as well as other applications, gaming servers, online projects and more.
Three Minecraft Docker scenarios and matching IONOS options
Before we start, all three servers from IONOS are suitable for hosting both a Minecraft Server and Docker. Which version and which pricing option is best for you depends on how you plan on using it: How many players will be logged in to the server at the same time? Will the server be online 24/7? How big is the map and are there any mods?
The table below will give you three different use cases and a suitable IONOS server option.
| Minecraft Docker server use case | The best IONOS option (with a Linux operating system) |
|---|---|
| Small map for 1–2 players, always online | VPS Linux XL |
| Medium-sized map for 3–9 players, using mods, always online | VPS Linux L |
| Large map for 10+ players, using mods, occasionally or always online | Dedicated Server AR6-32 SSD |
New to the world of server hosting and still not sure how often and how long you want to use your dockerized Minecraft setup? Rent a cloud server from IONOS and benefit from scalability and flexibility.
How to set up a Minecraft server on Docker: A step-by-step tutorial
As soon as you have your hosting environment set up, you can start installing your own Minecraft server on Docker. In this section, we’ll explain how IONOS customers (cloud server, vServer, dedicated server) can do this. In the following example, we’ll be using the Ubuntu 20.04 operating system.
Step 1: Connect to the server
The first step is to set up a remote connection to your server. IONOS customers can easily set up a remote connection from the Cloud Panel in their personal area using the KVM console. Here’s how to do it:
- Log in to the IONOS login page using your personal data.
- Open the section Servers & cloud.
- Select the server you want to use for your Minecraft Docker server.
- Click on Actions and Start KVM console.
- Log in with your personalized server login data. You can find this on your server’s overview page under Login data (user and initial password).
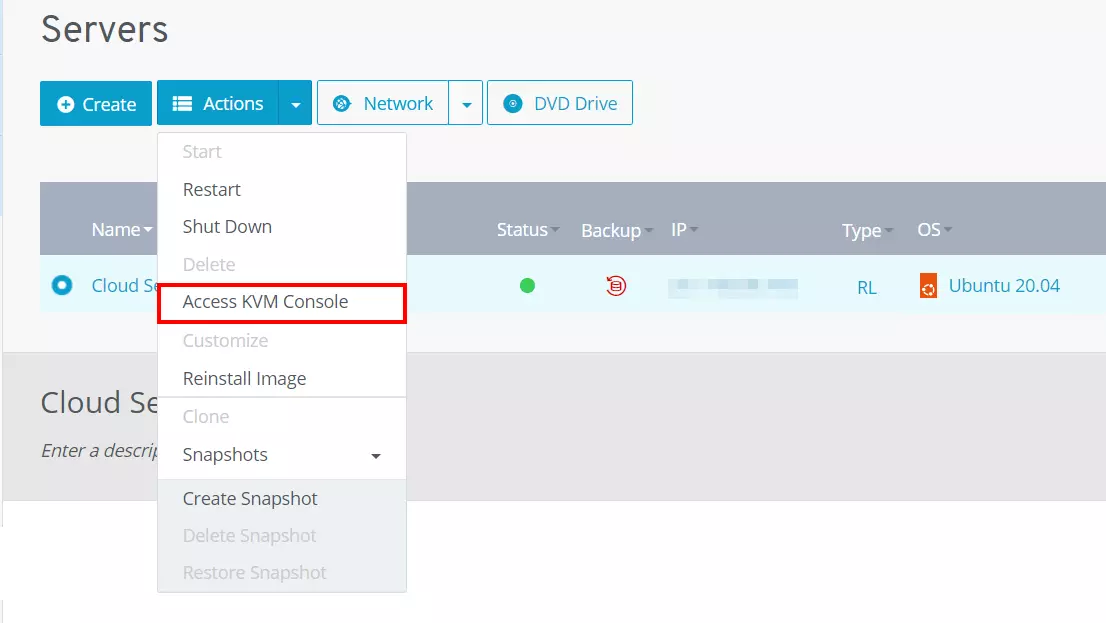
You can also connect to your Linux server using SSH.
Step 2: Prepare the Docker index
Once you’ve logged in to your Linux server, you can open the terminal to prepare the Docker index. First, update the package index of the package manager.
The next step is to install packages that allow indexes to be opened via HTTPS:
Use the following command to then add the official GPG key from Docker:
You can then prepare the index for the Docker engine:
Step 3: Install the Docker engine
You can now use the index to install the Docker software on your server. However, you first need to update the package index again:
The latest version of the engine (including containerd and Docker Compose) can be found using the following command:
You can check whether the installation was successful by running the “Hello world” container:
You should get a message that says the installation was successful.
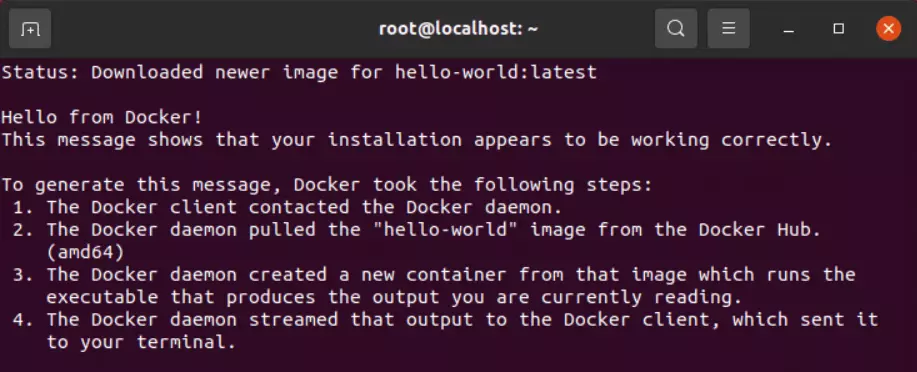
You can find more information about installing and setting up Docker via Linux in our Docker tutorial.
Step 4: Start Minecraft server on Docker container
Now that the Docker engine is running, you can start your Minecraft server using the “Docker-minecraft-server” container. You can do this using the pull command for the image:
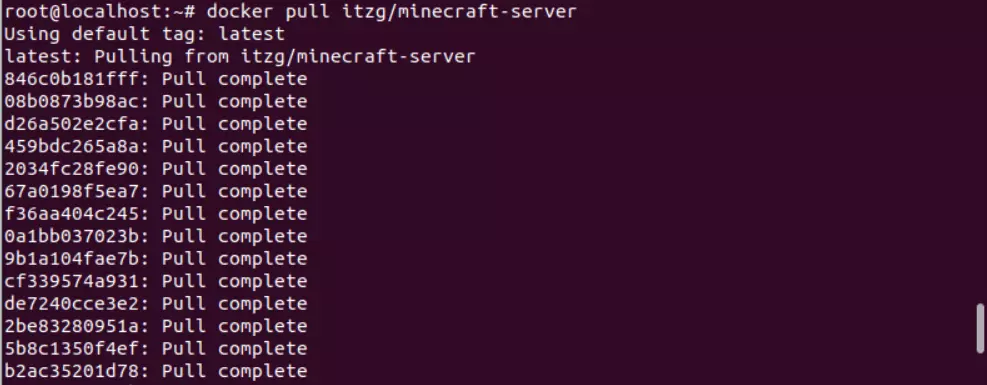
You now need to enter the following command to start the container, giving it the name “mc” and setting the port number to 25565.
Want to host a Minecraft bedrock server? Then use the following Docker image minecraft-bedrock-server.
Step 5: Enable port
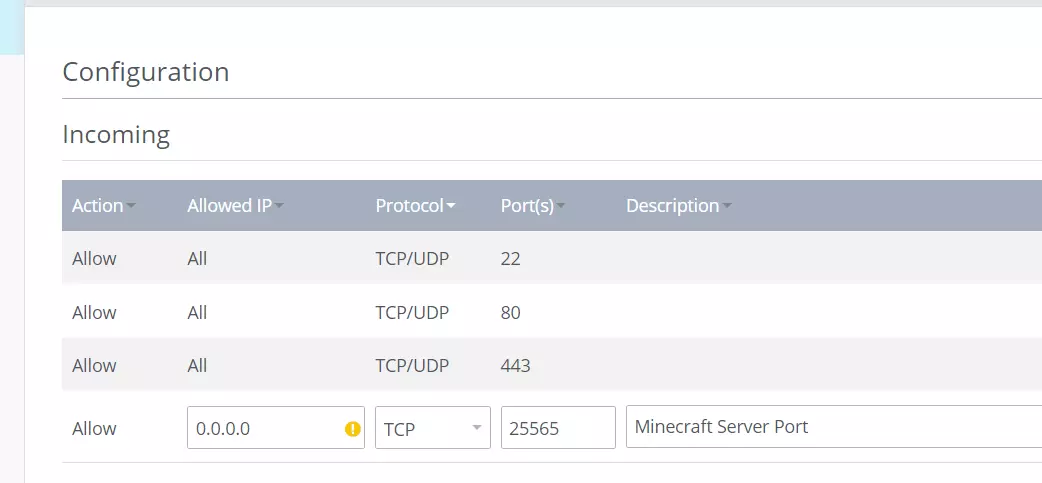
Communication between your Minecraft Docker server occurs via the TCP port 25565. Therefore, you need to open the port so that you and other players can connect to the server. As an IONOS customer, you can open ports directly in the Cloud Panel by doing the following:
- Log in to your IONOS login page.
- Click on Servers & cloud.
- Select the hardware that you installed Minecraft and Docker on.
- In the menu on the left-hand side, click on Network and then Firewall rules.
- Under Advanced, set up a new rule for TCP port 25565.
- Click on Add rule to save the changes.
- Following a short setup (1–2 minutes), the port will be enabled.
Step 6: Configure the server
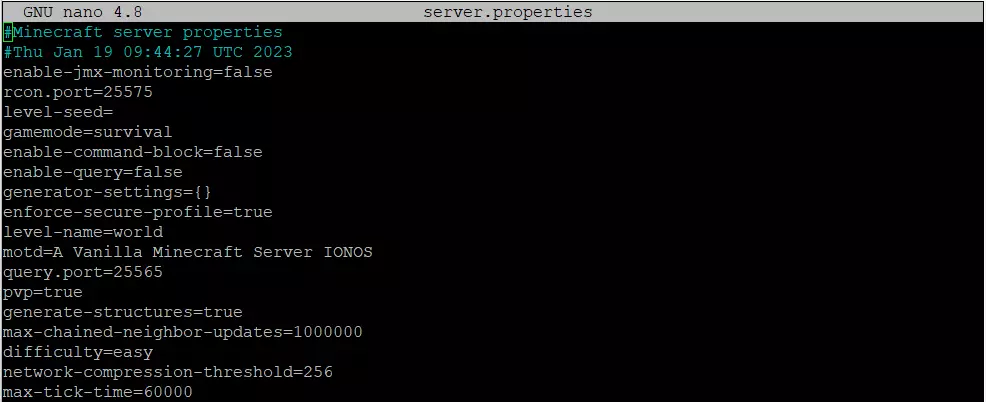
Your server is now active, and you can access it at any time. The first time it’s started, it will use the standard setup saved in a file that has been automatically created. The file is named server-properties. If you want to make any changes to the server properties, such as the maximum number of players, difficulty or the size of the map, you can do so using this file. If you’ve started the Minecraft Docker container, as explained in step 4, you will find the file in the index “/home/minecraft”.
Use the following command to find this index:
You can then open the file with the nano editor:
From here you can edit the configuration as you please. You can find an overview of the available parameters in the following official Minecraft Wiki entry about server properties.
Step 7: Restart the server from the Minecraft server console
To apply the changes from the new server configuration, you need to end your current session. You can easily do this using the Minecraft server console. This is where you can, for example, kick other players off the server, send general messages or otherwise influence the game and map.
To access the Minecraft console remotely, the remote protocol RCON is activated as standard. You can use the following command to manage the console:
To end the current server session, use the command “stop”. Your Minecraft Docker server will then restart automatically with the new settings.
You can get an overview of all the commands used in the Minecraft console by using the command “help”. The article on commands in the Minecraft Wiki also provides a good overview.
Step 8: Connect the Minecraft Docker server
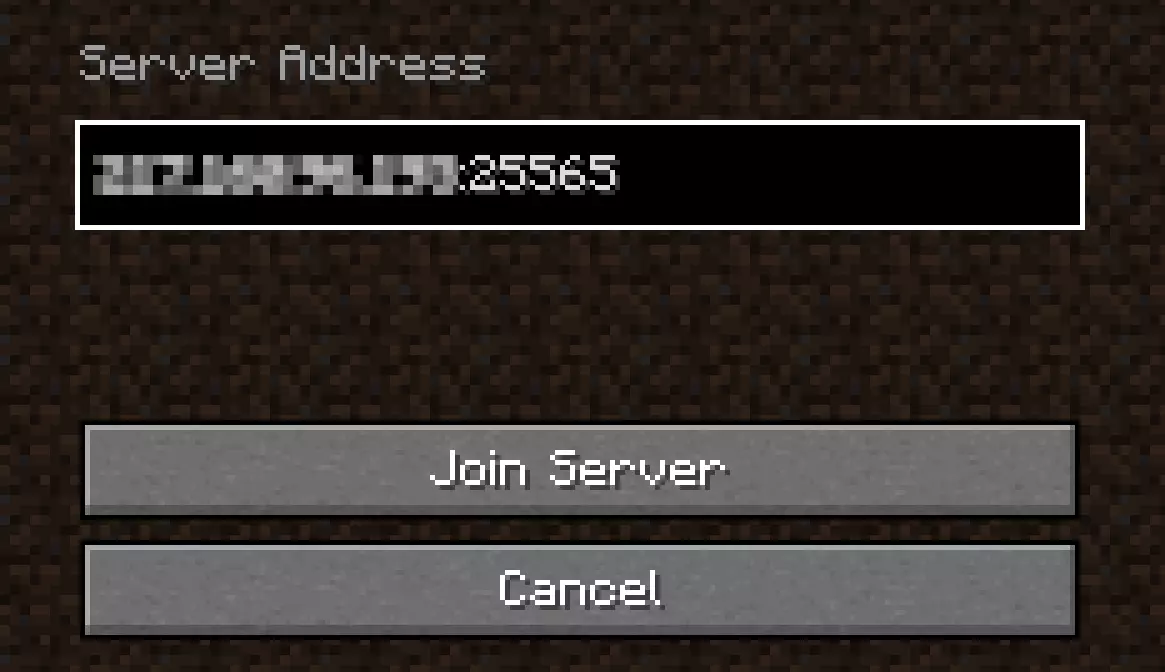
As soon as the server has restarted, you can begin your online adventure. Start your Minecraft client and select Multiplayer. Click on Direct connection and enter your personal server address into the field. Enter your port number, separating the two with a colon. It should look as follows:
Then click on Join Server.
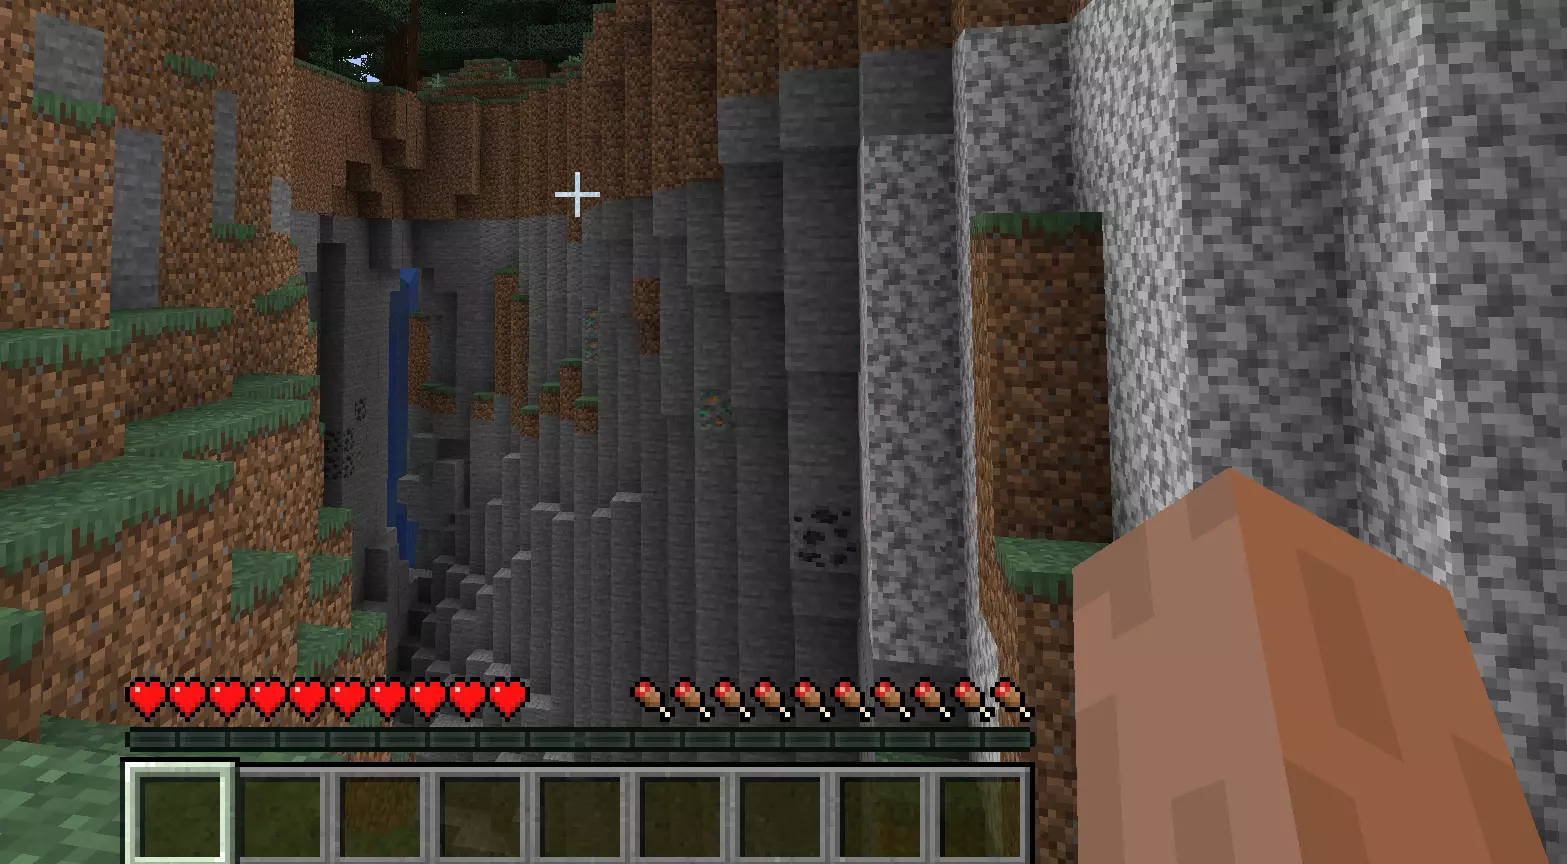
After a short load time, the server will be active, and you and your buddies can develop your colorful, blocky world to your hearts’ content.
Want to have a Minecraft server for lots of players or run parallel servers? Or maybe you want to use your hosting environment for more than just Minecraft and host other programs too? If you choose a dedicated server from IONOS, you’ll always have enough computing power for a large range of projects.
