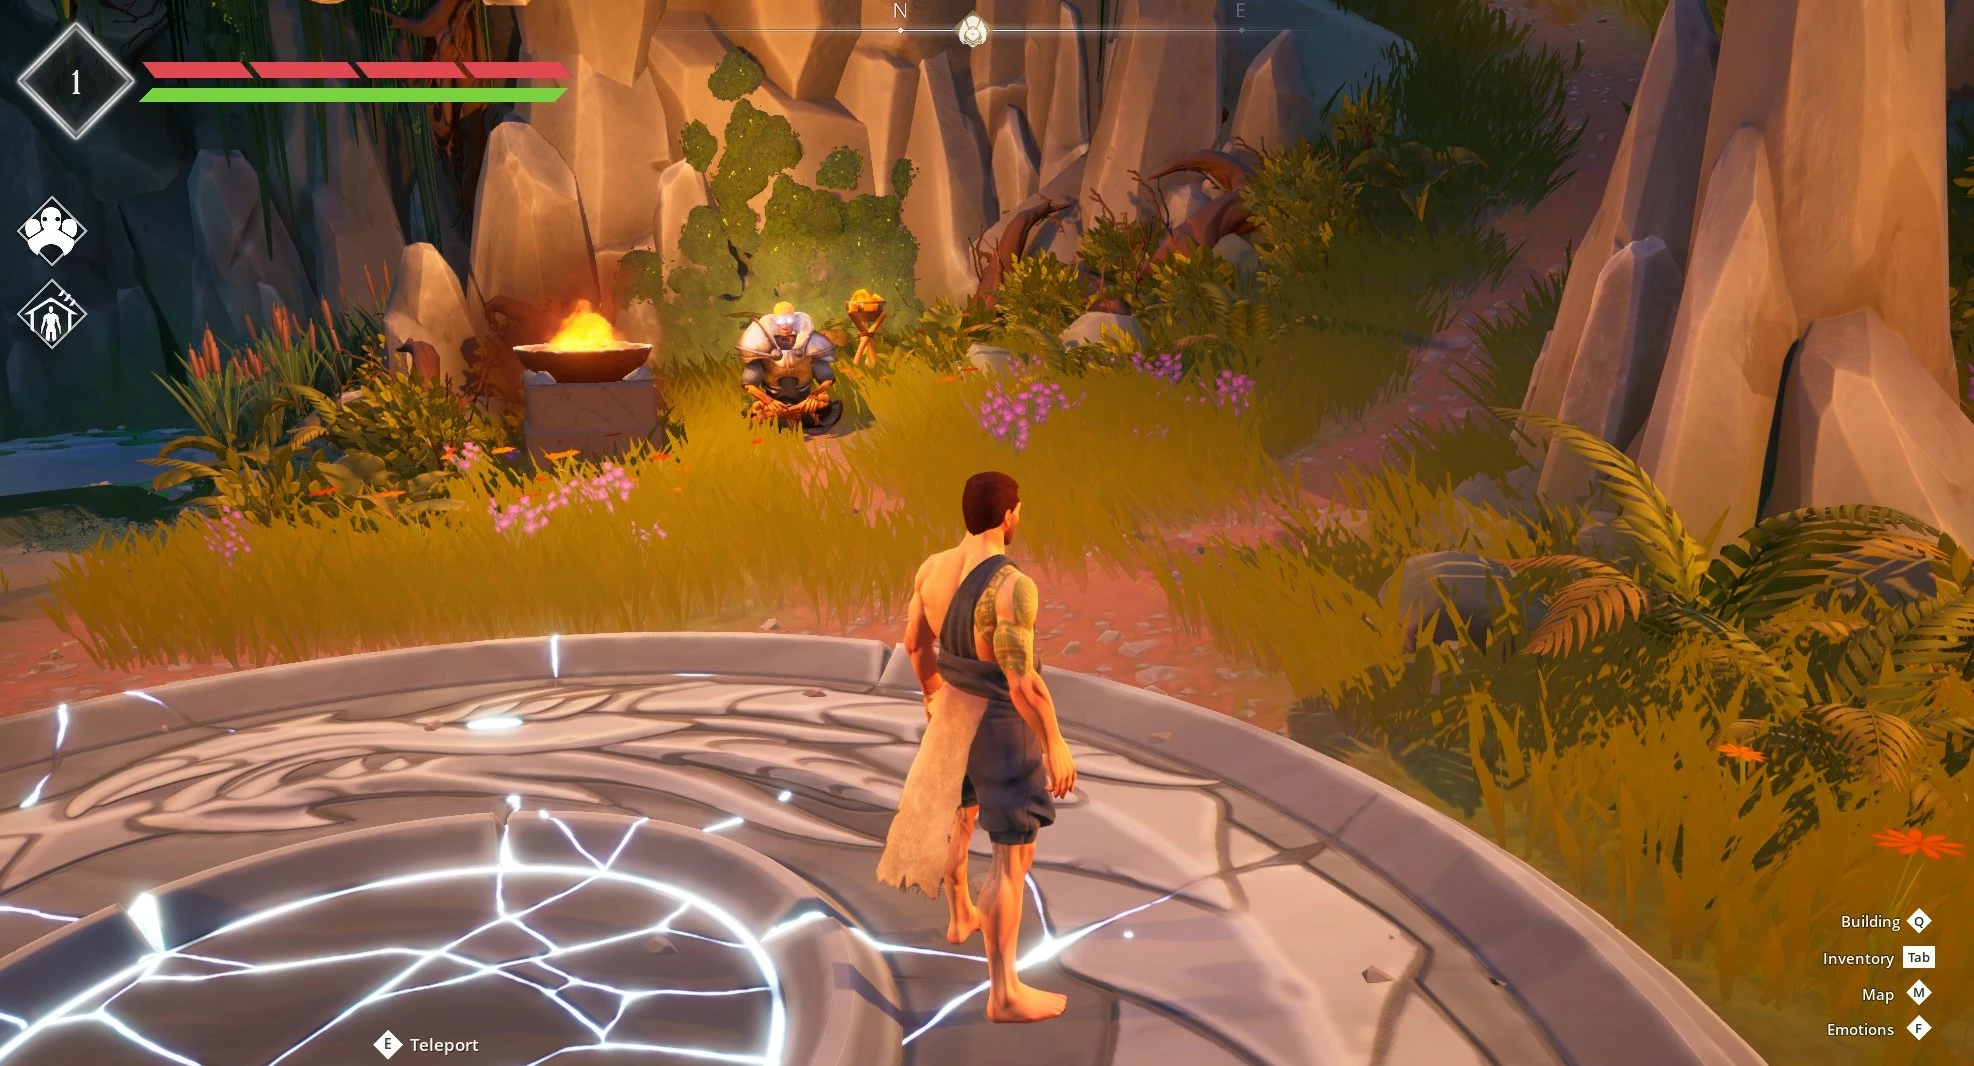
How to set up a Frozen Flame dedicated server
A Frozen Flame dedicated server offers the most freedom when designing your multiplayer adventures in Arcana. All you need is the right hardware setup for installation and setup, Windows or Linux, and the command line client SteamCMD.
Frozen Flame dedicated server on your own PC or with a provider?
You can set up and run the Frozen Flame dedicated server application on your private computer. However, your PC must have decent computing power, especially if you want to connect to the hosted game world. The crucial disadvantage of hosting on your PC is that as soon as you shut down your computer or quit the application, the server will automatically go offline. You also need a powerful and stable internet connection, which is not always possible with private connections.
Alternatively, you could opt for server hardware from a professional provider. This guarantees good broadband performance and the option to run the Frozen Flame dedicated server day and night.
Externally rented server hardware is flexible, and it can run multiple gaming servers or other applications. You can decide how to talk to your friends by setting up a TeamSpeak server or creating a Mumble server to maximize gaming fun.
What are the system requirements for a Frozen Flame server?
The hardware setup required for your own Frozen Flame dedicated server depends on several factors. The main factor is the number of players using the server at the same time. For example, you will need less power for smaller, shared PvE adventures (Campaign mode) than for a busy survival server in Cataclysm mode, which may have PvP enabled.
The following are the minimum requirements needed for a Frozen Flame server to run smoothly:
- Processor: Intel Dual-Core from 2.4 GHz or AMD Dual-Core from 2.4 GHz
- Working memory: 2-4 GB RAM
- Hard disk space: 5-10 GB
These Frozen Flame dedicated server software requirements must be added to the underlying system requirements. You have the choice between Linux distributions, such as Ubuntu or Debian, and the Microsoft server operating systems. For example, if you choose Windows Server 2022, the following hardware requirements must be added:
- 1.4 GHz processor (64-bit)
- 512 MB (without graphical user interface) or 2 GB RAM (with graphical user interface)
- 32 GB (without graphical user interface) or 36 GB hard disk space (with graphical user interface)
Do you want a Frozen Flame dedicated server that will host huge multiplayer battles? The powerful enterprise hardware for the dedicated server from IONOS will perfectly cover the high requirements.
Host your Frozen Flame dedicated server with IONOS
Hosting your game server with a professional provider will ensure sufficient computing power and smooth operation, thanks to the top broadband connection available. The challenge is finding the right provider and the right plan.
IONOS server models
There are three different server models available from IONOS to host your Frozen Flame dedicated server. Each has a different plan, which differs in performance and price. You can rely on a server broadband connection of over 360 Gbit/s.
- vServer (VPS): The vServer or VPS (Virtual Private Server) from IONOS allows you to access virtualized hardware performance from a fixed host system. The service plan is clearly laid out and available for a fixed monthly price.
- Cloud server: The cloud server from IONOS allows the hardware resources to be virtualized, but they do not necessarily come from a fixed host system. Cloud servers can be scaled at any time, and you only pay for the performance used.
- Dedicated server: The dedicated server from IONOS reserves dedicated hardware exclusively for you. The components are particularly powerful, and the computing power used is billed by the minute.
The cloud server from IONOS is recommended for those new to game server hosting. If you only use the server from time to time, you only pay for the time you used the hardware. Simply add more RAM or CPU if you need more performance at any time.
3 Frozen Flame Server scenarios and the corresponding IONOS plans
The type of server and how much performance you need depends on how you use your Frozen Flame dedicated server. The rule of thumb is that the more users that are online at the same time, the more RAM and CPU is required for uninterrupted gameplay. We have compiled three typical usage scenarios and suggested the suitable server options from IONOS to make your choice easier.
| Frozen Flame: Dedicated Server Scenario | Corresponding IONOS Server Plan |
|---|---|
| 1-4 people; server permanently online | VPS L |
| 5-10 people; server permanently online | VPS XL |
| Up to 24 people; server permanently online | AR6-32 SSD |
Frozen Flame dedicated server installation guide
The following tutorial details how to install, configure and make a dedicated server publicly available for Frozen Flame. We outline the steps for IONOS customers (vServer, Cloud Server, Dedicated Server) and the Windows Server 2022 operating system.
Step 1: Connect to the rented server remotely
You need a stable remote connection to install and set up a Frozen Flame dedicated server on the rented hardware. You can establish the connection to Windows Server 2022 using the Remote Desktop Protocol (RDP), which is enabled by default in Microsoft systems. IONOS customers can set up a connection directly in the online customer center (Cloud Panel):
- Open the IONOS customer center login page in the browser and log in with your login data.
- Select the “Server & Cloud” category.
- Click the plan you have rented for hosting your Frozen Flame dedicated server.
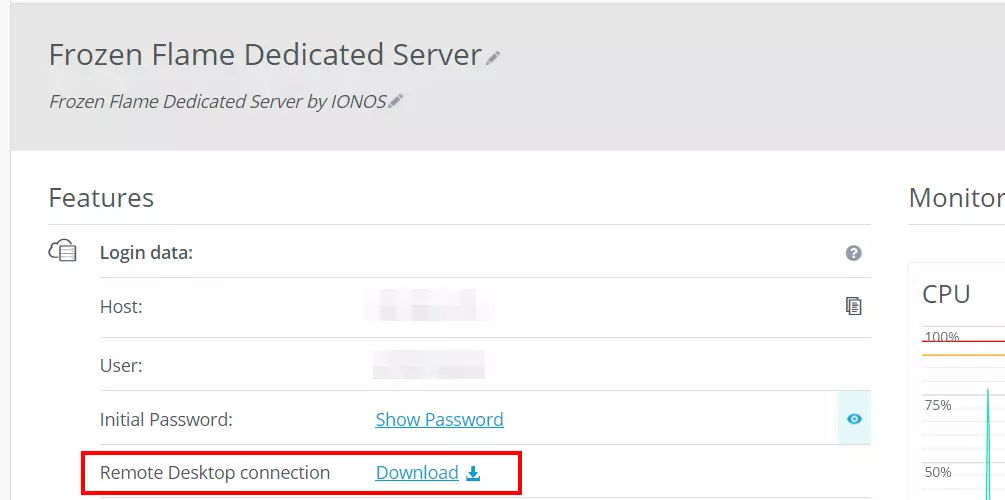
- Press the download link next to “Remote Desktop Connection” (under “Login data”).
- Run the downloaded .rdp file and confirm the remote setup by clicking “Connect”.
- Enter the server’s login data, which can also be found under “Login data” in the Cloud Panel.
- Confirm the IONOS server’s security certificate.
Step 2: Install command line client SteamCMD
The best way to download and install Frozen Flame’s dedicated server is through SteamCMD. You can connect directly to the gaming platform’s public download servers using the command line client. Install the program as follows:
- Download SteamCMD using the this download link.
- Unzip the ZIP file to any folder on your server.
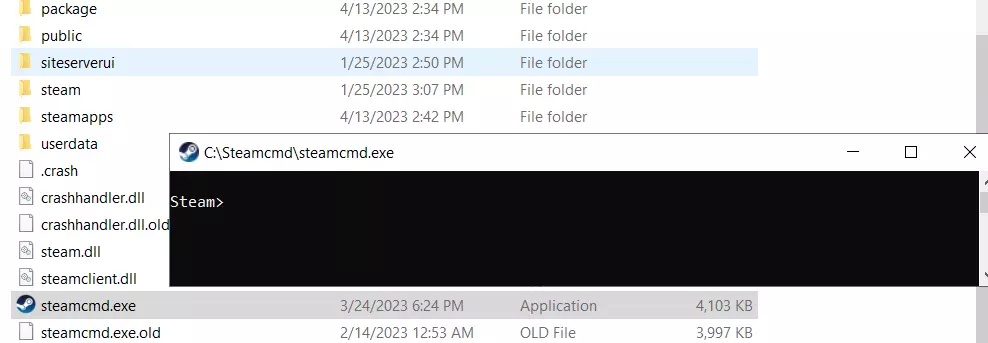
- Run the file steamcmd.exe by double-clicking on it.
- The Steam input line
Steam>will appear once the installation is complete.
Step 3: Install the Frozen Flame dedicated server
You can now download and install the Frozen Flame server software using SteamCMD. Start with the anonymous login to the public Steam servers:
Then create an installation folder for the server files:
In the last step, you can combine the app_update command with the app ID 1348640, the ID of the Frozen Flame dedicated server software, to download and install the application in the folder.
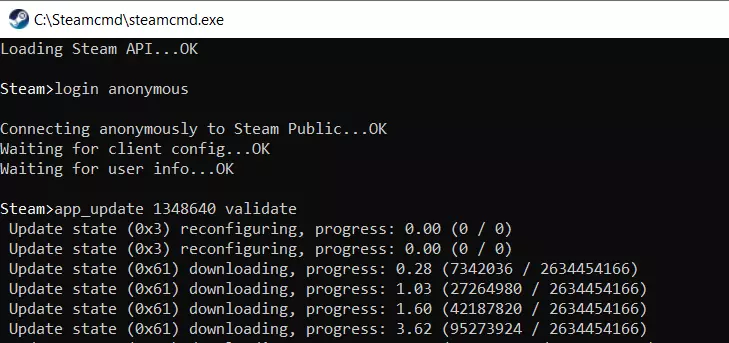
You can update the server application later by connecting to the Steam servers again and running the command app_update 1348640.
Step 4: Release ports for server communication
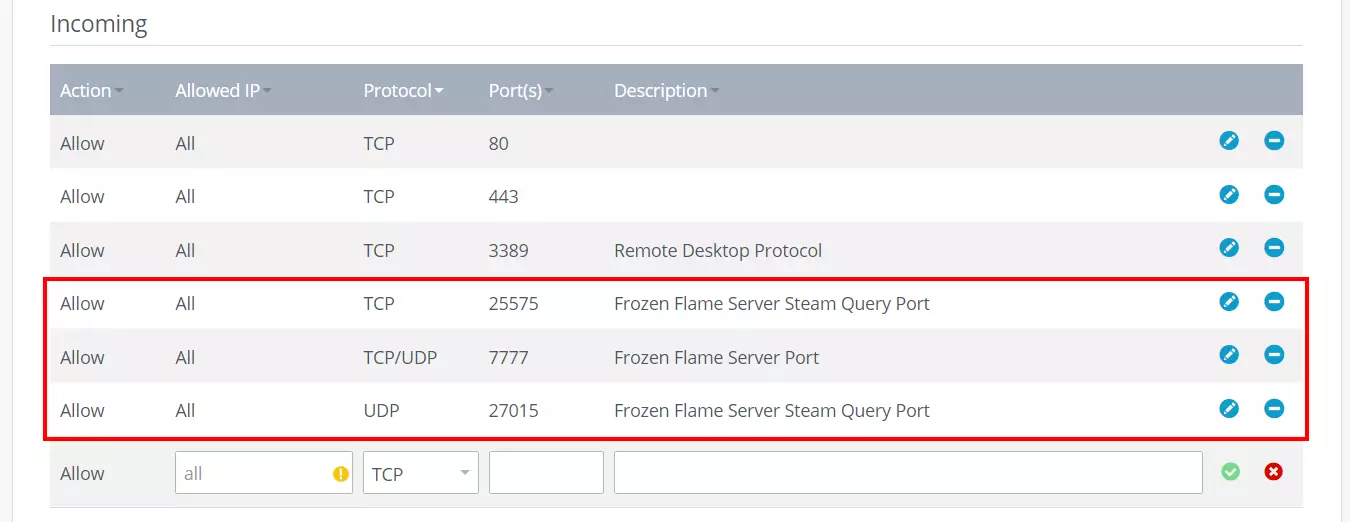
For your Frozen Flame dedicated server to be available online and receive and process requests from Steam, you need to release various ports in your rented server’s firewall settings. These are TCP/UDP port 7777 as a general server port and TCP port 25575 and UDP port 27015 for communication with the Steam platform.
Open the ports in the IONOS Cloud Panel as follows:
- Open “Server & Cloud”.
- Select the hardware where you have installed the Frozen Flame dedicated server.
- Click “Network” in the left side menu and then select “Firewall Policies”.
- Create the rules for the individual ports under “Incoming”.
Step 5: Create Game.ini configuration file
The Game.ini file is the main configuration file for a Frozen Flame dedicated server. However, this is not created automatically, so you must create it yourself. Open the server folder and create a new file with the name Game.ini in the subfolder .\FrozenFlame\Saved\Config\WindowsServer. The individual folders in this folder must also be created manually.
Once you have created the file, you can insert and save the following lines for a simple default configuration:
Insert a password in the ServerPassword line and adjust the configuration options as you wish.
Step 6: Create configuration files for the game mode
You can choose the default Campaign mode or the faster paced Survival mode “Cataclysm” for your Frozen Flame dedicated server. However, the configuration files will be missing after installing the server files for these modes. They must be manually created in the .\FrozenFlame\Saved\Config\WindowsServer subfolder.
For campaign mode, create the HeavenNormal.ini file and add the following content:
If you want to play Cataclysm immediately, create the GameModeSurvive.ini file with the following content:

Step 7: Create startup script for Frozen Flame dedicated server
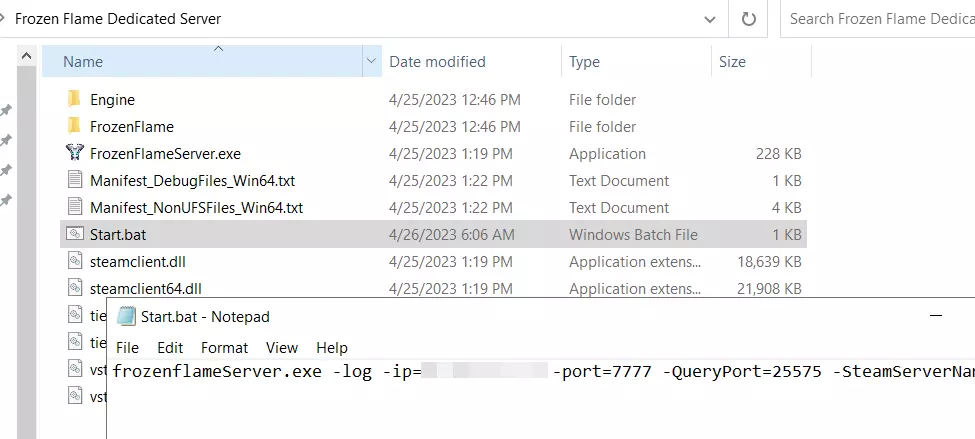
You only need a suitable batch script to start the server. This should be in the same folder as the FrozenFlameServer.exe. Create a new file in the main folder .\Frozen Flame Dedicated Server and call the file Start.bat.
Open the file with an editor of your choice and paste the following content:
Enter your server’s IP and specify your Frozen Flame server’s name inside the quotation marks after SteamServerName=.
Step 8: Start Frozen Flame dedicated server
Once you have created and saved the script, you can start your server with the configured settings. Simply open the batch file by double-clicking on it. The command prompt opens, and the script’s commands are executed. You can check the server’s startup process in another window of the command prompt.
Step 9: Connect to the server
You and your comrades-in-arms can connect to the server at any time. You just need to start Frozen Flame and proceed as follows:
- Click on “Play”.
- Select the “Private Server” option.
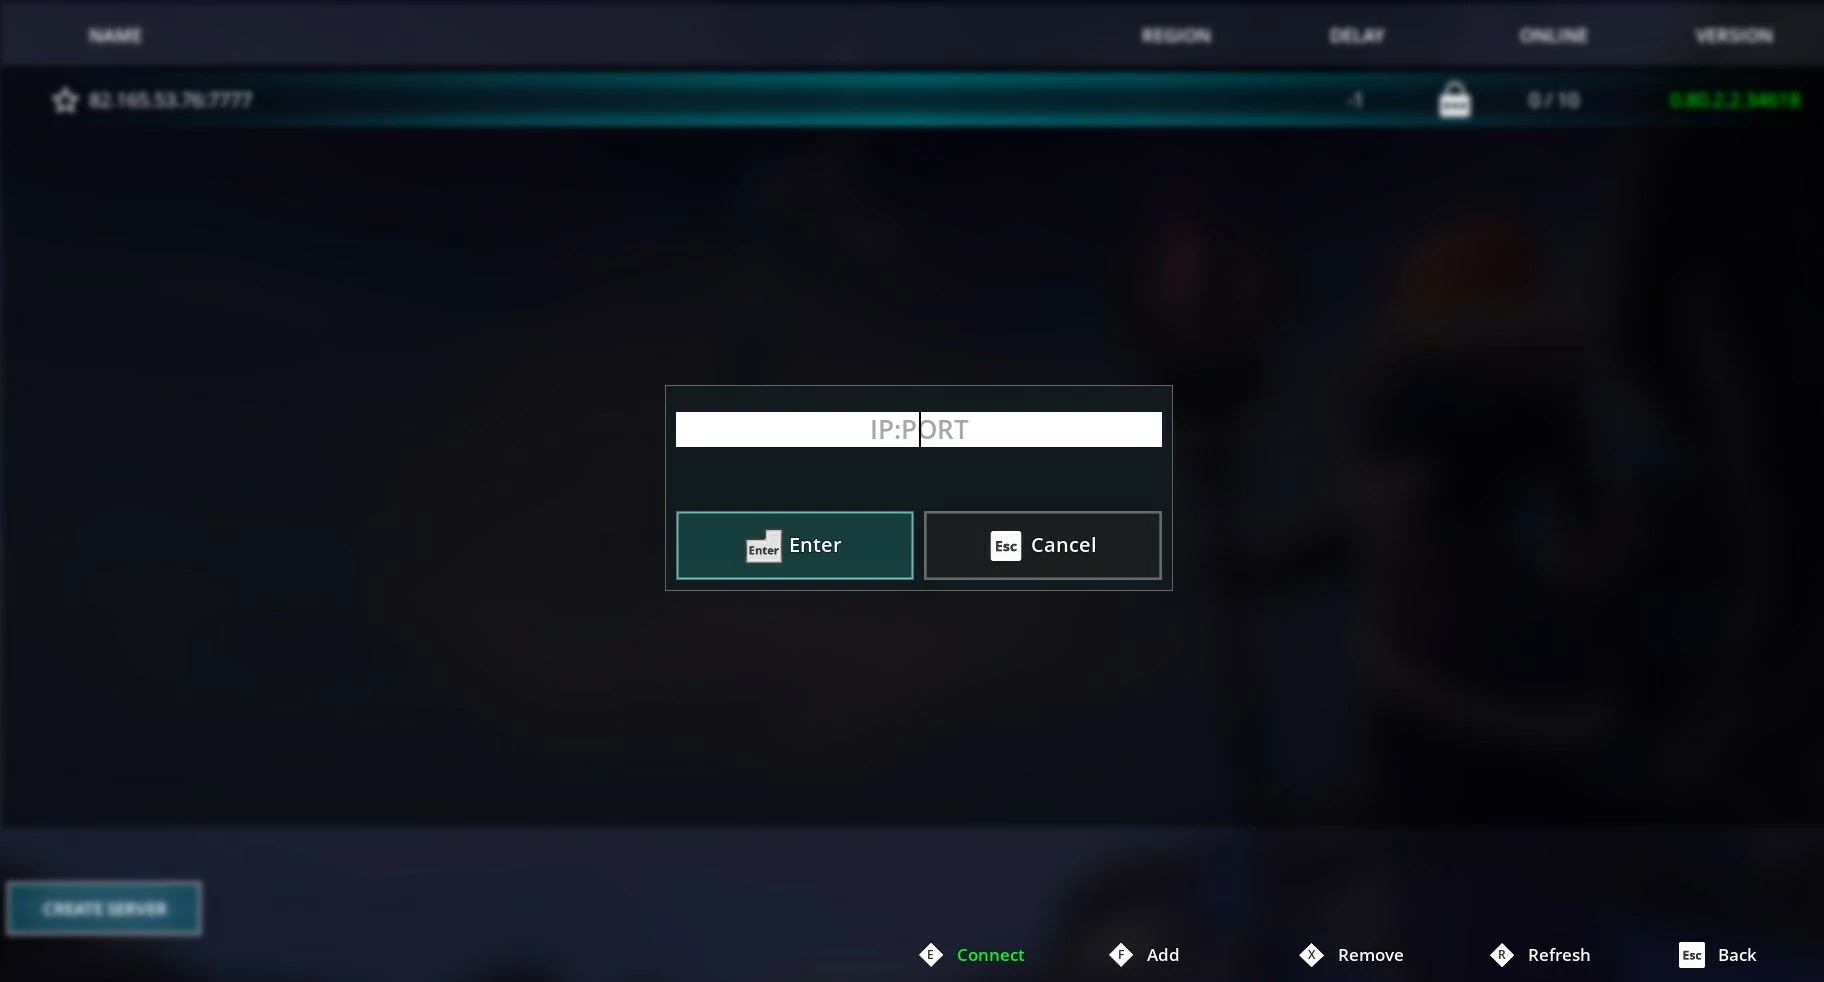
- Press “Add” or the [F] key and enter your server’s IP address. Place a colon in front of the server port 7777.
- Confirm the server by pressing Enter and click “Connect” or the [E] key to connect to the Frozen Flame dedicated server.
You cannot currently (April 2023) list your server as a public Frozen Flame server if you host the dedicated server application yourself. You must resort to rental offers for this, but they offer much less administration freedom.
Once the connection is established, you can finally embark on online adventures together.
