How to set up and configure an Enshrouded server
Having your own Enshrouded server is perfect for creating a personalized gaming experience. It also gives you maximum control over who can play and when the server is online. Leaving the hardware requirements up to a hosting provider makes installing and configuring the game server quick and easy.
What are the requirements for an Enshrouded server?
If you want to host a dedicated Enshrouded server yourself, you can either run the server application on your own computer or run the software on server resources from a professional hosting provider. Going with a professional hosting provider means you won’t have to have your personal computer turned on in order for the server to be online. Additionally, with a hosting provider, you’ll have significantly better broadband connectivity and your computer won’t have to endure the extra strain of hosting a game server.
You can also use the hardware that you rent for your game server for other purposes. You can, for example, create your own voice chat solution by setting up a Mumble server.
The amount of computing power you need for your Enshrouded server ultimately depends on how many players will be using the server at the same time. Your hardware should meet the following minimum requirements:
- Processor (CPU): min. 3.2 GHz (dual-core)
- Memory (RAM): min. 5 GB
- Disk space: 30 GB
You also need to consider the requirements for the server operating system you will be using. For Windows Server 2022 from Microsoft, for example, you’ll need to allocate an additional 1.4 GHz processor speed, 2 GB of Ram and 36 gigabytes of disk space (512 MB and 32 GB without a graphical user interface).
The developer team recommends reserving about 100 MB per player in addition to the base RAM needed.
Hosting an Enshrouded server with IONOS
When it comes to hosting games that have dedicated servers, you can choose from various hosting providers. IONOS offers three different types of servers that can be used for hosting games. Each server comes with fast broadband connectivity of up to 1 Gbps:
- vServers/VPS: IONOS vServers, or VPS, are virtualized server resources that have a fixed host system. For a monthly fee, you receive a fixed hardware setup.
- Cloud servers: Cloud servers from IONOS are virtualized hardware that come from various systems and can be scaled at any time. You are billed for what you use by the minute.
- Dedicated servers: With a dedicated server from IONOS, you receive a high-performance setup made up of physical hardware. Billing is by the minute and based on what you use.
Try out your VPS for 30 days. If you're not satisfied, you get your money back.
Server recommendations for different Enshrouded server gaming scenarios
In the following table, there are three different Enshrouded server gaming scenarios that differ in terms of number of players and when the server will be online. For each scenario, we’ve provided a IONOS server recommendation that is most suitable for the scenario.
| Enshrouded server scenario | Suitable IONOS server with Windows |
|---|---|
| 2–4 people; server always online | VPS Windows L |
| 5–8 people; server always online | VPS Windows L |
| 9–16 people; server always online | Dedicated Server AR8-64 NVMe |
How to set up an Enshrouded server step by step (Windows)
Now, we’ll take a look at the individual steps for installing and configuring a dedicated Enshrouded server. This tutorial has been created with IONOS customers (vServer, Cloud Server, Dedicated Server) in mind and uses Windows Server 2022.
Step 1: Establish a remote connection to the server
First, you need to connect to the server hardware using remote access. At IONOS, you can conveniently set up a remote connection through your customer account, which you can access online:
- Go to the IONOS customer login page and sign in with your login information.
- Click on Server & Cloud.
- Select the IONOS plan that you purchased for your Enshrouded server.
- Use the download link in the row Remote Desktop connection (You can find this under Login data).
- Run the .rdp file that has been downloaded and log in with your server credentials (User and Initial Password). If you are connecting for the first time, you’ll need to verify the server certificate.

You can find a detailed article on how to connect to a Windows Server using Remote Desktop Connection in the IONOS Help Center.
Step 2: Install SteamCMD
The easiest way to get the dedicated server application for Enshrouded is by downloading it from the public Steam servers. You can establish a connection to the public servers using the SteamCmd client, which you can install by completing the following steps:
- Use the SteamCMD download link to download the installation package.
- Extract the package to a folder of your choice. You can unpack it, for example, in the directory
C:\SteamCmd. - Run the extracted file to install SteamCMD.
Step 3: Download the Enshrouded dedicated server application
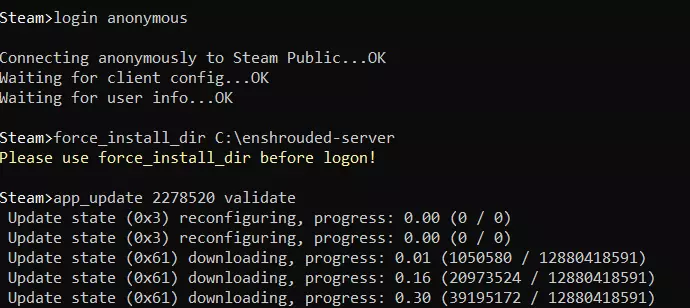
After installing SteamCMD, you can start the command-line client at any time by running steamcmd.exe. Once you see the input line Steam>, you can connect to the Steam servers. To do this, log in anonymously using the following command:
Next, use the command below to set up a directory for your Enshrouded server. We’ve named the folder C:\enshrouded-server:
Now, run the command app_update with the app ID 2278520 to download the Enshrouded dedicated server app:

The Enshrouded dedicated server app can also be downloaded through the Steam client. In order to do this, you need to install the application on your server. Once you have done so, navigate to your library and select the category Tools. Then, search for the application Enshrouded Dedicated Server.
Step 4: Configure your Enshrouded server
To configure the server software that you’ve just installed, you need to launch it for the first time. You can do this by double-clicking on the file enshrouded_server.exe. Once you have successfully launched the app (if you receive the message 'HostOnline' (up)!, the launch was successful), you can close the window. You should now be able to find the automatically generated configuration file enshrouded_server.json in the server directory. You can adjust the parameters below by opening the file with the text editor of your choice:
name: Server namepassword: Server passwordsaveDirectory: Directory of save files, default location is the server subdirectory)logDirectory: Directory for server logs, default location is the server subdirectory)ip: Your server’s IP address (if you need it for internal network configuration)gamePort: Game port, default TCP/UDP 15636queryPort: Query port, default TCP/UDP 15637slotCount: Maximum number of players, can be from 1 to 16
Step 5: Open server ports
In your server’s firewall settings, you need to open the game port to make your server publicly accessible, as well as the query port, which regulates game data traffic. Opening these ports will make it possible for you and your fellow player to connect to your Enshrouded server. If you are not using the standard TCP/UDP 15636 and 15637 ports, you’ll need to open the ports that you designated in the configuration file. You can adjust firewall rules in the IONOS Control Panel by doing the following:
- Log in to your IONOS customer account an.
- Go to Server & Cloud and select the hardware you are using for the Enshrouded server.
- In the left-hand menu, click on Network and select Firewall Policies.
- Under Incoming, create rules for TCP/UDP-Port 15636 and 15637.

Step 6: Start your Enshrouded server
You can start your Enshrouded server at any time by running enshrouded_server.exe. A command prompt window will automatically open just like when you did the initial launch in step 4. You’ll know that the server has successfully been started when the message 'HostOnline' (up)! appears.
Step 7: Connect to your Enshrouded server
Once you have started the server, you and your fellow players can connect by completing the following steps:
- Launch Enshrouded as you normally would and click Play in the main menu.
- Create the character you want to play on your Enshrouded server.
- Click on Join.
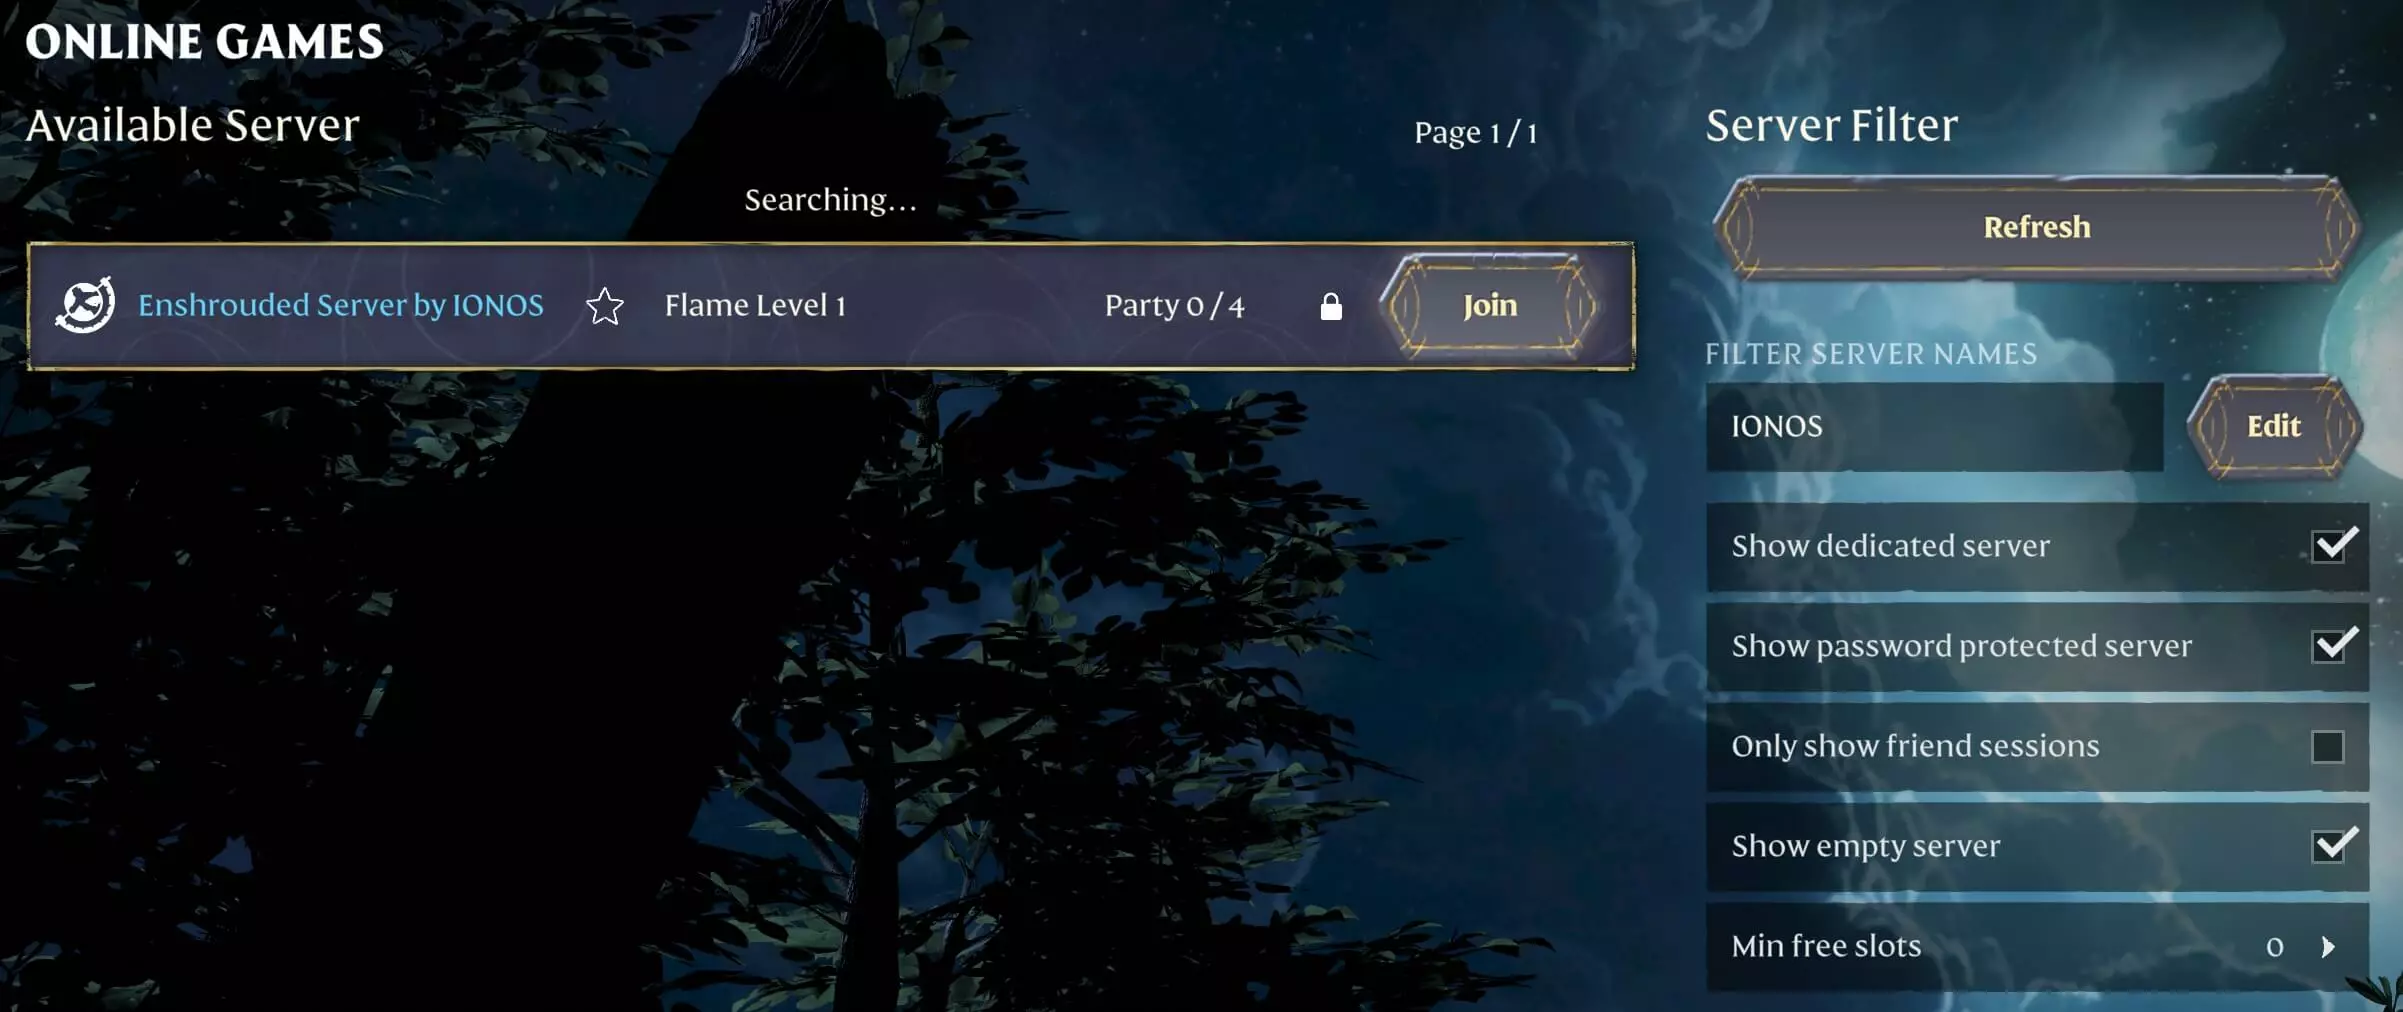
- You can search for your server using the Search for server name option. It can take a few minutes for the results to load. This is because the pages that list the servers load one page at a time each time the server list is accessed.
- Once your server is displayed in the results, you can click on Join next to your server to establish a connection.

Now, there’s nothing to stand in the way of a new adventure on your very own Enshrouded server!

Don’t want to use a traditional IP address? With IONOS, you can create a custom server address that you can share with other players. What’s more, you can also select a domain extension to match. For example, you can use the .gg top-level domain.

