How to set up a Dead Matter server
Hosting your own Dead Matter server gives you maximum freedom when it comes to the Dead Matter game world and its different modes. You can install the server application on the hardware of your choice through Steam or using the command-line client SteamCMD.
What are the server requirements for a Dead Matter server?
You can set up your own server for Dead Matter on virtually any computer as long as it has sufficient processing power. However, for performance reasons, it’s best to run the dedicated server application on external server resources in a data center. By doing so, you not only benefit from fail-safe enterprise hardware but also from professional service and excellent broadband connectivity.
The specific requirements for the hardware you’ll be using for your Dead Matter server depends on various factors. These include how many players will be using the server and how many zombies there should be in the game. The following requirements are the minimum requirements that need to be met in order to install and run a Dead Matter server.
- Processor (CPU): min. 3.0 GHz (2-4 cores)
- Memory (RAM): min. 4-6 gigabytes
- Disk space: 5-10 gigabytes
In addition to the requirements for hosting the server application, you also need to think about what the operating system needs as well. For example, if you decide to use Windows Server 2022, you’ll need an additional 1.4 GHz of processor power, 2 gigabytes of memory and 36 gigabytes of disk space. If you are not using a graphical interface, you’ll need 512 MB of memory and 32 gigabytes of disk space.
By choosing a hardware setup that has more resources than you may initially need, you’ll be able to expand your Dead Matter server at any time. You’ll also have the possibility to use extra hosting resources for other game servers or your own Team Speak server.
What options does IONOS offer for hosting a Dead Matter server?
Finding the right hardware solution for a Dead Matter server can often be tricky. There are lots of providers, and it’s not always easy to tell what sets the different hosting options apart from each other. At IONOS, you can choose from three server types, all of which are suitable for hosting games that come with a dedicated server:
- vServer / VPS: With IONOS vServers, also known as VPS, you get access to virtualized hardware that is part of a shared host system. You pay a fixed monthly fee for a hosting plan with predefined performance levels.
- Cloud server: If you go with a cloud server from IONOS, you’ll also be using virtualized hardware. The difference here though is that the individual components for your server come from different host systems. This setup makes it possible to easily scale cloud servers. You pay for the resources that you use on a per-minute basis.
- Dedicated server: With a dedicated server from IONOS, you’ll receive enterprise hardware that isn’t virtualized. This option is ideal for use cases that have very high performance requirements. You’ll be billed by the minute and based upon what you use.
Step-by-step instructions for setting up a Dead Matter server (Windows)
Once you have the hardware for your Dead Matter server picked out and set up, you begin installing and configuring the server application. These step-by-step instructions will show you how to set up the software on Windows Server 2022 and how to start the game server. The steps below show how to do this using an IONOS server(Cloud Server, vServer, Dedicated Server).
Step 1: Connect to the server hardware
To manage the server resources, you’ll need to first connect to the server via remote access. You can use the Remote Desktop Protocol (RDP) to quickly set up a connection with Windows Server. IONOS customers can easily set up the connection using the customer dashboard:
- Log in to your account on the IONOS login page.
- Choose Server & Cloud.
- Select the server that you want to use for hosting your Dead Matter server.
- Scroll down to the section Login data and click on the download link next to Remote Desktop Connection.
- Start the .rdp setup file by double-clicking on it.
- Enter your login information for the server (User und Initial Password). Then accept the server certificate to set up the remote connection.

Step 2: Install SteamCMD
Using the command prompt, install the command-line client Steam CMD on your server. With this tool, you can easily connect to the public Steam servers, allowing you to download the dedicated server software for Dead Matter as well as many other Steam games.
You can use the following SteamCMD download link to download the installation package to your server. Once you’ve downloaded SteamCMD, you’ll need to create a directory for it. This could be, for example, C:\SteamCMD. Unpack the package in the directory you created and then install the command-line client by running the extracted file.
In the article, “SteamCMD: How to install the command-line client”, we cover how to install SteamCMD on Windows and Linux in detail.
Step 3: Download the software for your Dead Matter server
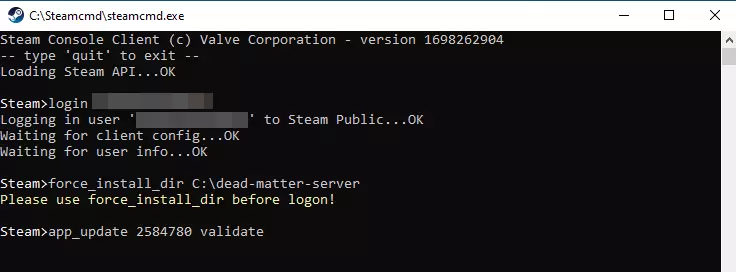
When you run SteamCMD; it automatically launches the Steam command line, which can be identified by the prefix Steam>. Log in to Steam to get the Dead Matter server software. In order to access the software, you need to log in with the Steam account that you used to purchase the game:
Enter the following command to create an installation directory (for example, C:\dead-matter-server) for your Dead Matter server:
Use the app_update command and the Steam App ID for the Dead Matter dedicated server (2584780) to download the server software:

You can also get the server application for Dead Matter on the Steam platform. If you already have it installed on your server, log in to your account and go to Library. Make sure that the box next to the Tools category is checked. Under Tools, you will find the Dead Matter dedicated server application, which you can install just as you would any other Steam application.
Step 4: Create the configuration files
Now, it’s time to configure your Dead Matter server. Since the file Game.ini is not automatically generated when the server app is installed, you’ll need to first create the configuration file. The file should be placed in the following directory:
In the Game.ini file you have created, insert the basic setup below. You can customize it as needed:
In addition to the configuration file, you’ll also need to create another file named Engine.ini for your Dead Matter server. This file specifies the server ports and all the modules that are essential for initializing the game world. Just like the Game.ini file, this file is also not automatically generated during installation, so you‘ll need to create it using the information below and save it in the directory we referred to at the beginning of this step.
Step 5: Open the ports
To enable communication with your Dead Matter server, you need to open ports 27015 (Game Port) and 27016 (Steam Query Port) in the firewall settings of your server. If you have a IONOS server, you can also perform this step in the customer dashboard:
- Log in to your IONOS account.
- Go to the product category Server & Cloud.
- Select your server and on the left side of the menu click on Network and then on Firewall Rules.
- Under Incoming, add two new rules for TCP/UDP ports 27015 and 27016.

Step 6: Start the Dead Matter server using a batch script
To start your server, create a simple batch file in the directory of your Dead Matter server. The script, which you can name DeadMatterServer.bat, looks like this:

Once you double-click on the file, it will start running and the server will start Command Prompt in a new window.
Step 7: Connect to the Dead Matter server
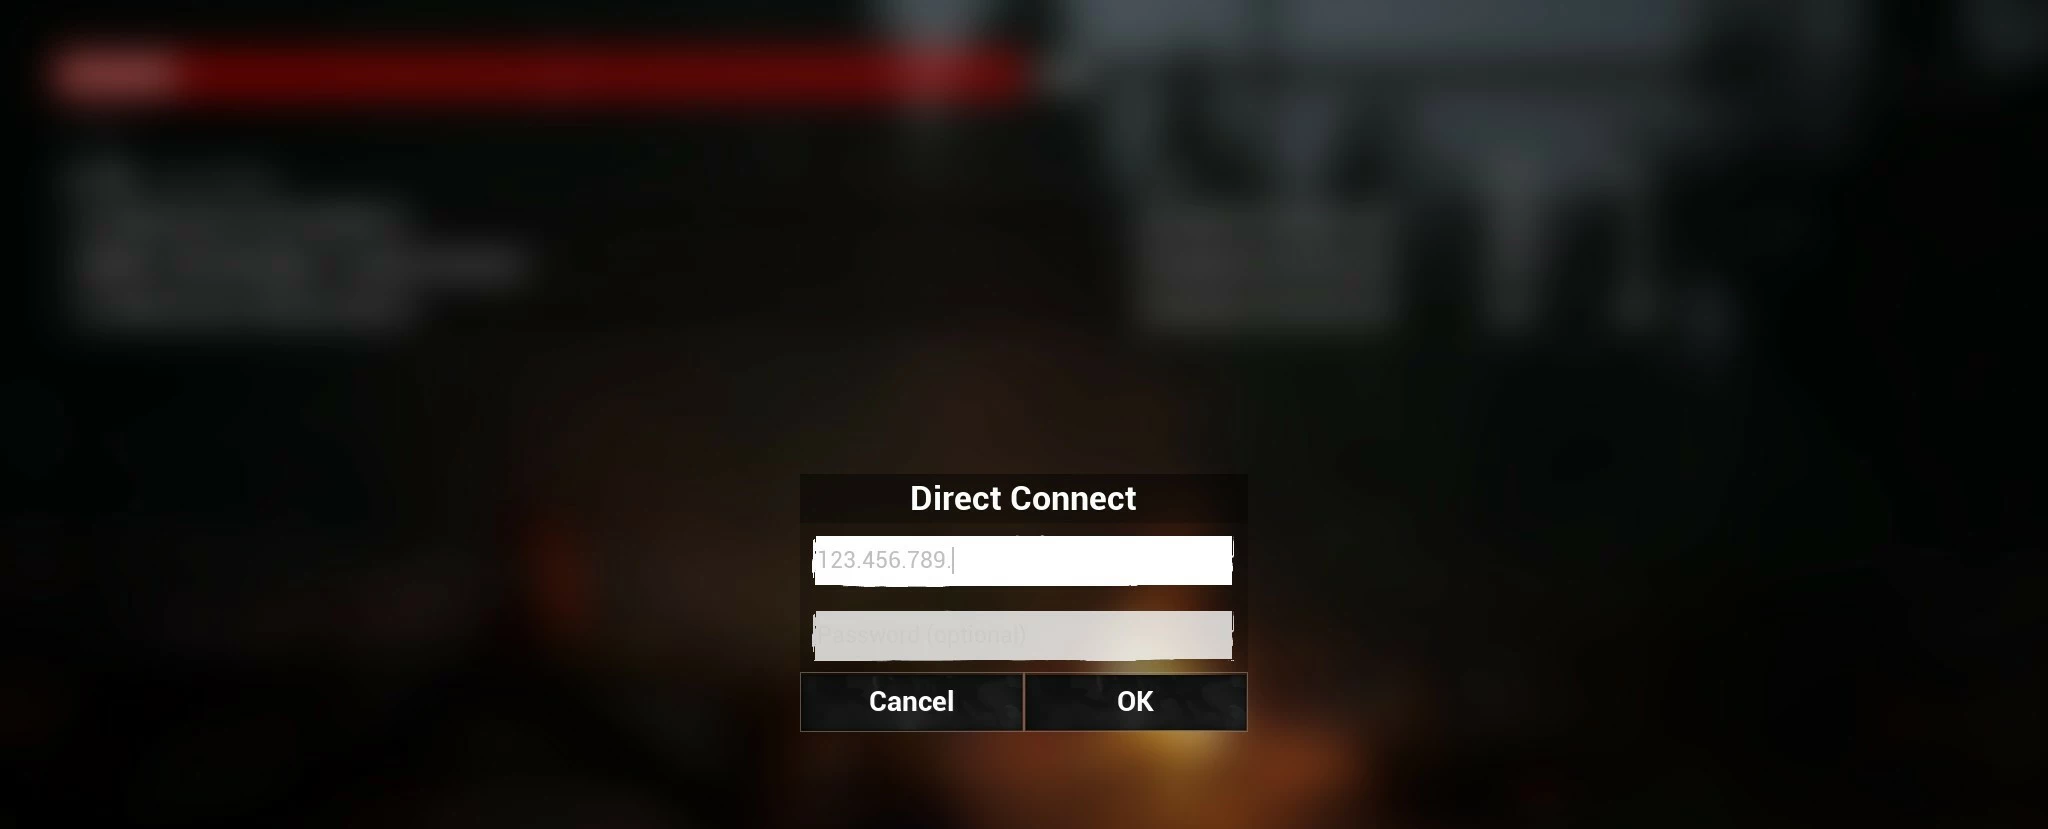
You and your fellow players can now connect to the server at any time. To do this, start the game and select the option Play online from the main menu. If you can’t find your Dead Matter server in the list, simply choose the Direct connect option and enter the IP address and password (if applicable) to establish the connection.

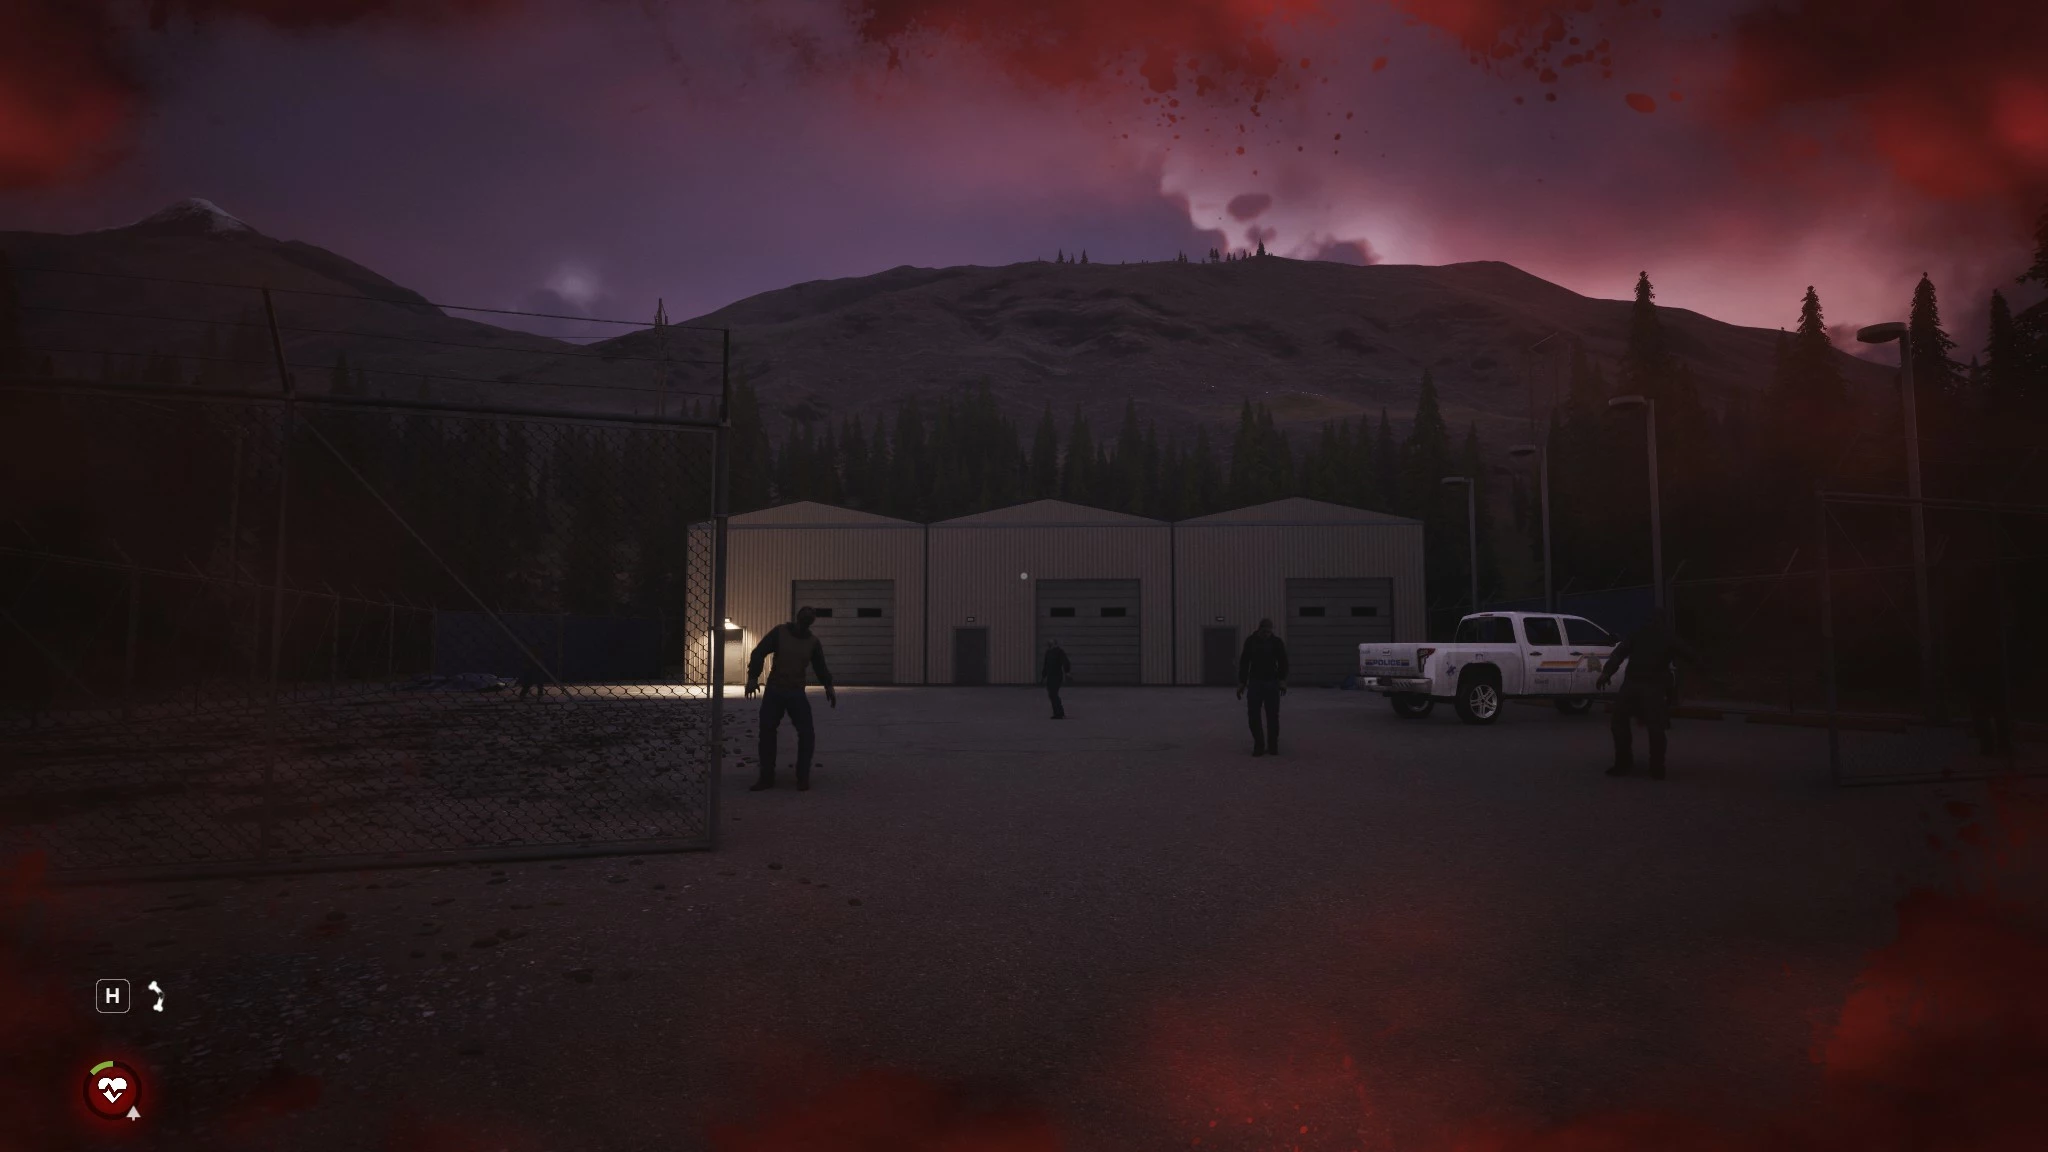
Create a character and choose the starting point for your online adventure.

Instead of relying on an IP address, you can make your server available through an easy-to-remember domain. Simply use the IONOS Domain Checker to see if the domain you want to use is available.

