How to take a Screenshot in Windows 11
If you want to capture an image of your desktop, menu, or whatever else, a screenshot is the simplest solution. We’ll show you how to take a screenshot in Windows 11 and store it as an image file.
A quick guide of the most important steps:
- Screenshot the entire Windows 11 screen and save it to the clipboard: [Print] key (Note: On some laptops, instead of the [Print] you’ll need to press the combination [Fn] + [PrtScn]).
- Screenshot active window view and save it to clipboard: [Alt] + [Print] key
- Take a screenshot of the entire screen and save it directly to the .\pictures/screenshots directory: [Windows] key + [Print] key
- Screenshot a select area and save it to the clipboard [Windows] key + [Shift ⇧] + [s]
- Up to 50 GB Exchange email account
- Outlook Web App and collaboration tools
- Expert support & setup service
Key combinations for Windows 11 screenshots
In the early days of personal computers, the [Print] key served a single practical purpose: to print displayed screen contents of operating systems like MS-DOS to paper. In succeeding versions, the function has changed: [Print] became a versatile hotkey for creating screenshots in Windows.
In Windows 11, you can use the [Print] key to screenshot whatever is displayed and save it to the clipboard – the operating system’s temporary memory. In addition, [Print] can be combined with other keys, for example, to capture only sections of a screen. Here are the most important key combinations for screenshots in Windows 11:
- [Print]: Press this button (sometimes also [Prnt] or [Prnt Scrn]) and everything visible on your screen(s) is saved to the clipboard. You can then paste the screenshot into any application that displays images (such as Paint or Word) by pressing [Ctrl] + [v].
- [Alt] + [Print]: If you combine the [Print] key with [Alt], Windows 11 will not take a screenshot of the entire screen, but only a screenshot of the active window. To do this, simply select the desired window with the cursor.
- [Windows] + [Print]: Use this key combination to save a screenshot as an image file in Windows 11. In this case, an image of the entire screen is stored in PNG format in the user-specific directory .\Images\Screenshots.
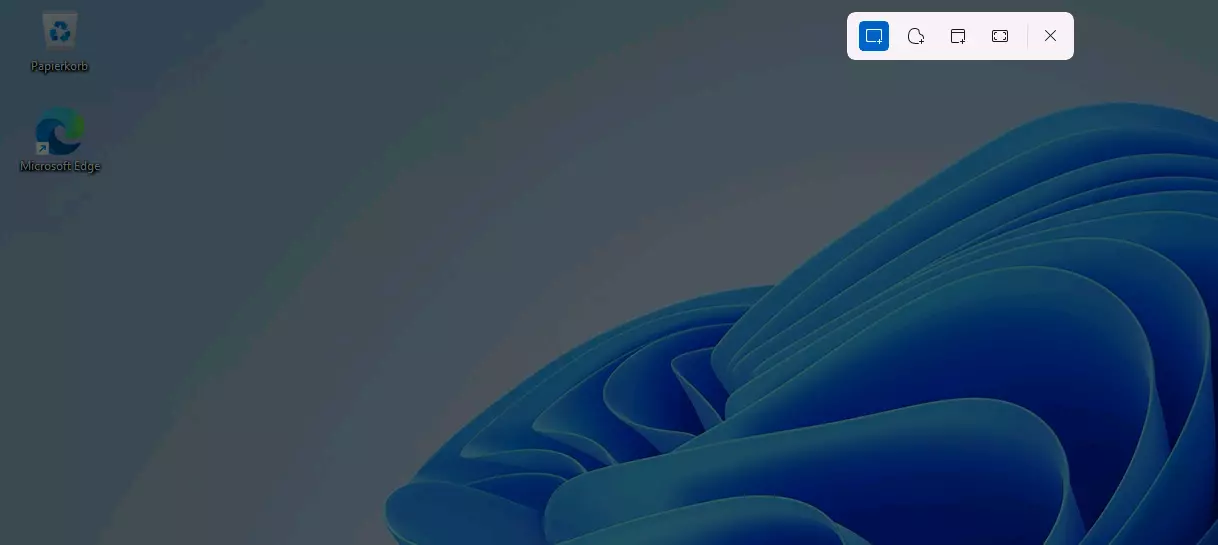
- [Windows] key + [Shift ⇧] + [s]: Press this key combination to access a screenshot tool. This lets you frame any section of the screen and save it as a screenshot to the clipboard. The function also lets you cut and screenshot a window or the entire screen.
When saving an image using one of these options, beware that the operating system’s clipboard only ever has space for a single screenshot. So if you use the [Print] key a second time, the previous image will be automatically replaced. If you want to keep an image from the clipboard, you should copy it to a compatible application such as Paint or a paint alternative with [Ctrl] + [v] and save it in the desired format.
Prefer to use applications to screenshot in Windows 11? You can always resort to a third-party solution. Read about some good choices in our detailed article on the best screenshot tools.
Snipping Tool: the simplest solution for screenshots in Windows 11
Seasoned Windows users who have already taken screenshots with Windows 10, will be familiar with the Snipping Tool, which is an extended version of the tool that you access with the previously mentioned key combination [Windows] key + [Shift ⇧] + [s].
Launch the application for Windows 11 screenshots as follows:
- Launch the start-up menu.
- Click on “All Apps”.
- Scroll to find the Snipping Tool or alternatively type “snipping tool” in the search bar.
- Launch the tool with a left click.
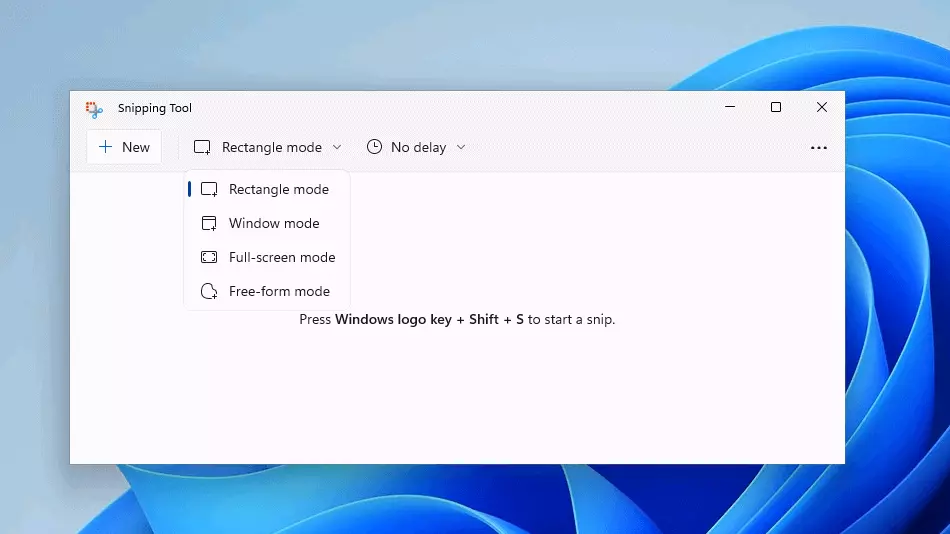
The Windows tool provides the following screenshot variants:
- Rectangle mode: use this mode to drag a rectangle over the area you want to screenshot.
- Window mode: With window mode you can create a screenshot of a single Windows 11 window or menu. Make a selection by left clicking.
- Full screen mode: Use the full screen mode of the Snipping Tool whenever you want to take a screenshot of the entire screen.
- Freehand mode: In freehand mode, you set the shape of the screen section that you want to capture.
To capture elements via screenshot that are only visible when you hold down the mouse pointer or hover over a menu item (e.g. drop-down menus), use the Snipping Tool’s delay function. This lets you set up the function so that the screenshot is taken after three, five, or ten seconds.
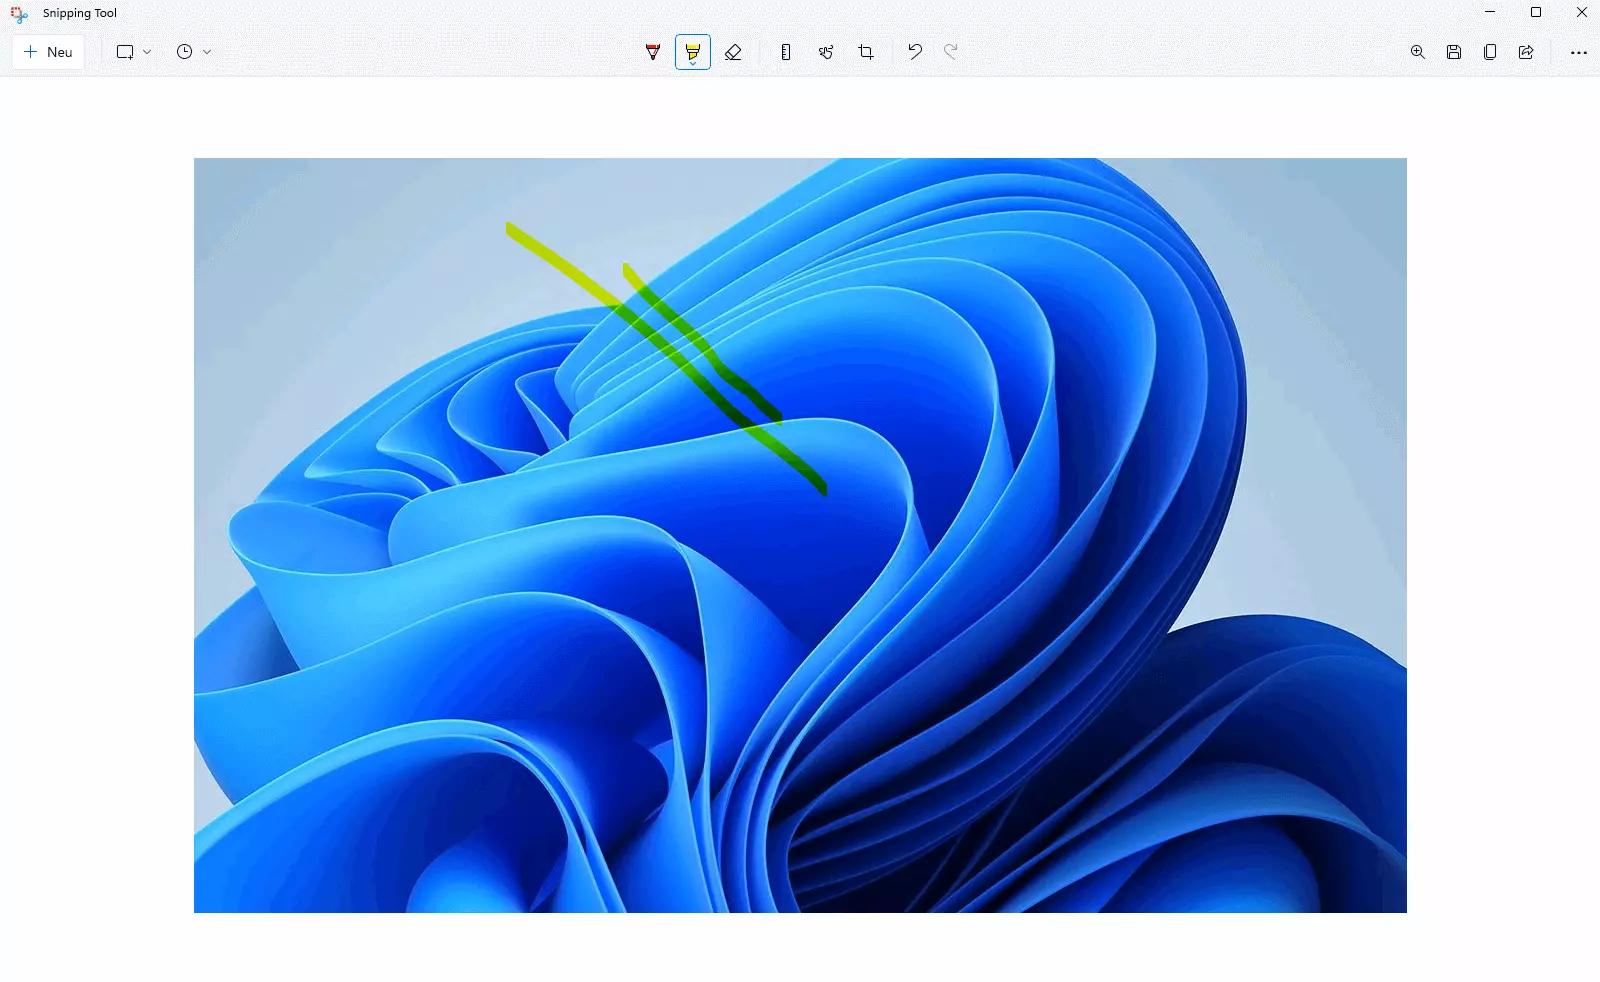
The main advantage of the snipping tool is the wide range of editing and processing options that become available after the screenshot is created. You can crop an image, add markers, save the image, or share it via email.
Don’t just want to screenshot but capture your actions in a video? Read the following article to learn how to start a Windows 11 screen capture.
Screenshots of web content in Windows 11 and browser extensions
The presented options for taking screenshots in Windows 11 are practical if you want to photograph a specific section or the entire screen. However, if you want to capture dynamic web content or, for example, an entire website via screenshot, you will need special browser extensions.
For popular browsers Google Chrome and Firefox FireShot and Awesome Screenshot are suitable extensions.
Once you have installed your chosen extension in your browser, you can configure it via the corresponding button in the address bar and use it to screenshot entire websites.
Read more about Windows 11 in our Digital Guide:
- Speed up Windows 11 performance


