How to turn on Windows Defender
Phishing, Trojan horses, viruses and other malware – the internet is not only an open space for information, but also a playground for shady characters who are coming up with ever more sophisticated ways to crack passwords, steal credit card details and gain access to other people’s online bank accounts. Anyone who browses carelessly risks compromising the security of their private data. Those who use the internet without antivirus programs leave themselves vulnerable to attacks by cyber criminals.
With Windows Defender, all users of the popular Microsoft operating system now have access to a free antivirus program that offers excellent features and reliable protection against viruses, malware, and similar threats. We explain how to turn on Windows Defender.
What is Windows Defender?
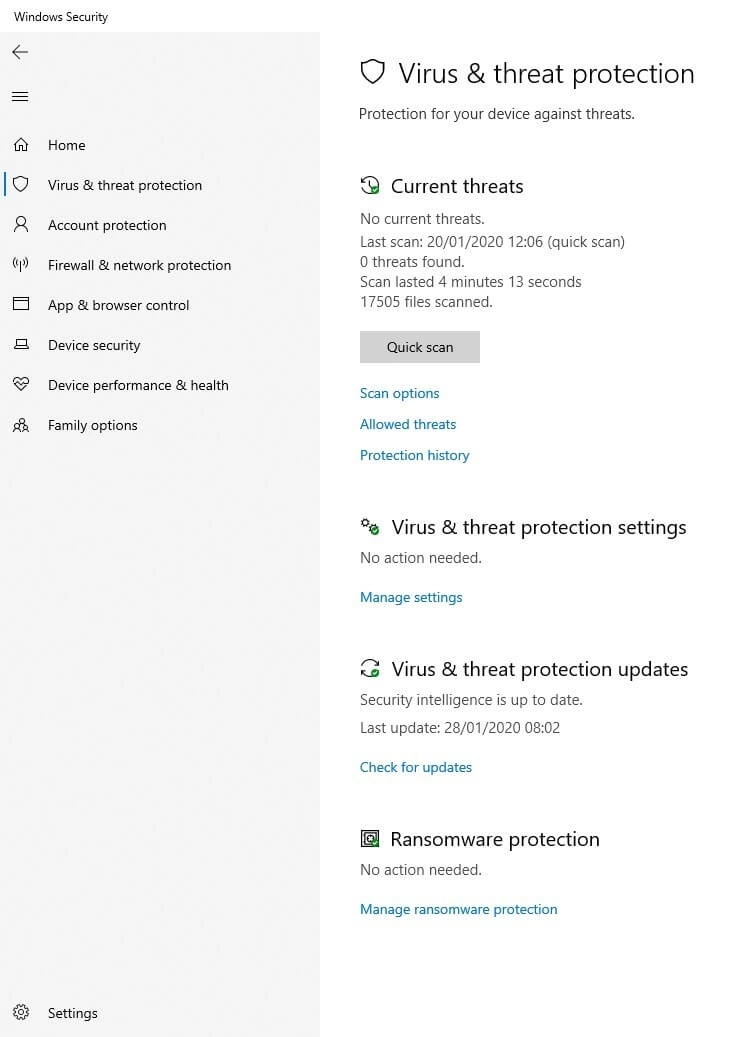
Windows Defender is Microsoft’s free protection solution against all virtual threats from malware, spyware, ransomware to Trojan horses, viruses, and phishing tools. Defender comes pre-installed and activated on Windows 10. From the very first time you switch on your Windows PC, you can count on Defender’s extensive protection. Microsoft’s antivirus software is free to use.
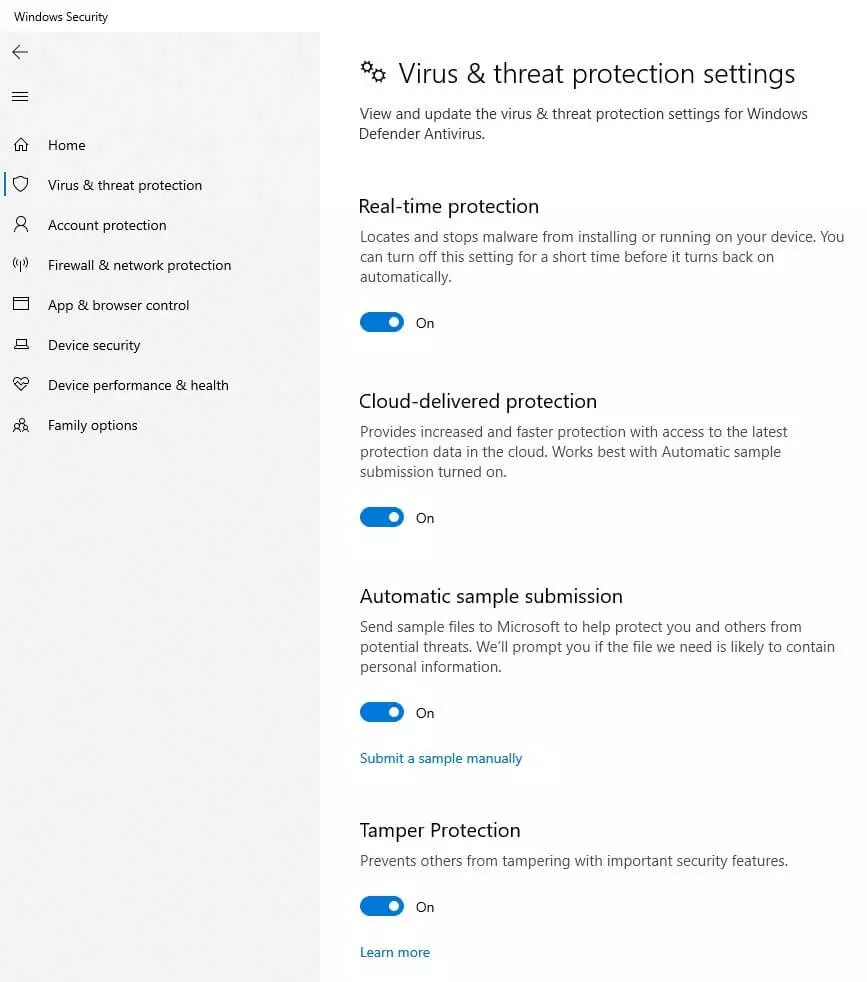
By turning on Windows Defender, you can benefit from a range of practical features. Custom security settings can be configured thanks to the personalization options, and children and youth safety options can also be set up as necessary. One of the most helpful features is Windows Defender’s real-time protection. Once activated, real-time protection runs a virus check on all files and applications that are downloaded, opened or started. Since the threat scenarios in the fast-paced online world change on a daily basis, it’s important to update Windows Defender on an ongoing basis. This happens automatically with Windows Updates.
Additional security solutions allow monitored folders to be set up. This enables you to set as many protection flags for folders as you wish. In the event of data loss due to virus infection or other malware, files in monitored folders are given special protection. Another element of the comprehensive Windows Defender is the secure start function. In this mode, Defender prevents rootkits from automatically running their harmful content on your system when you restart the computer.
How to turn on Windows Defender
Microsoft’s antivirus software is completely free of charge and provides reliable protection from viruses.
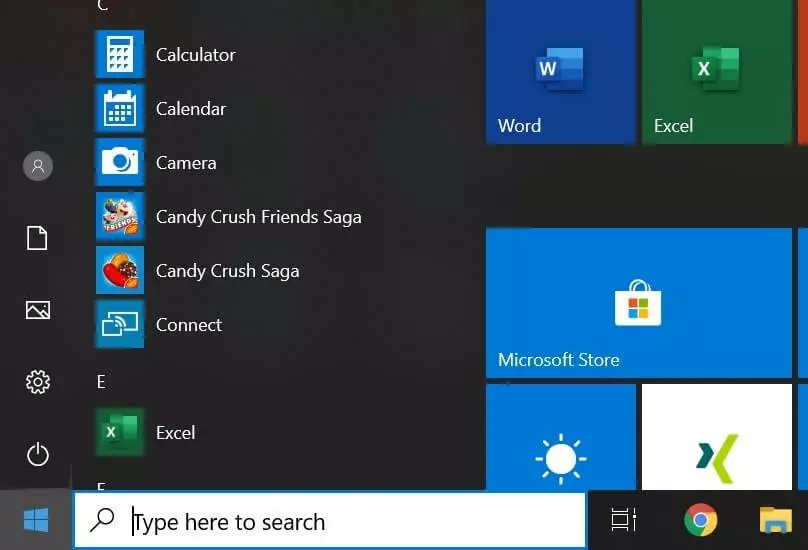
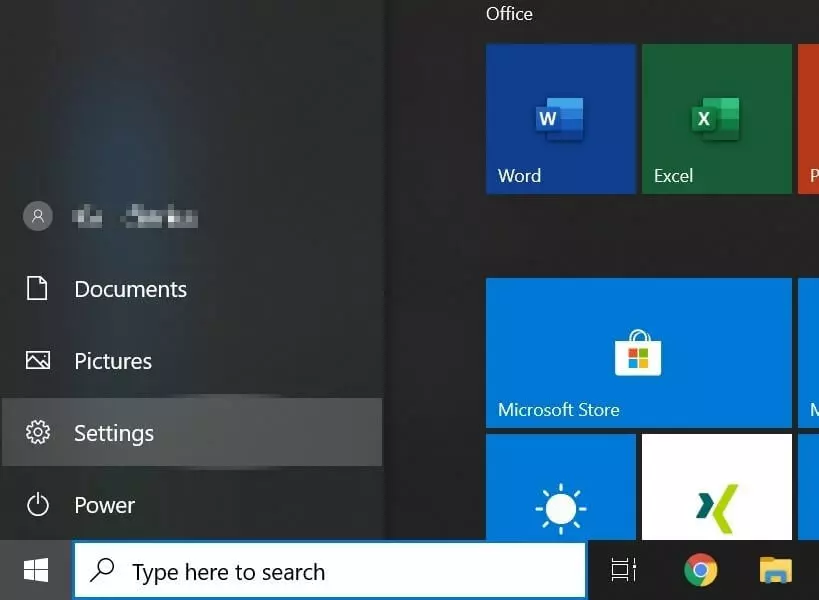
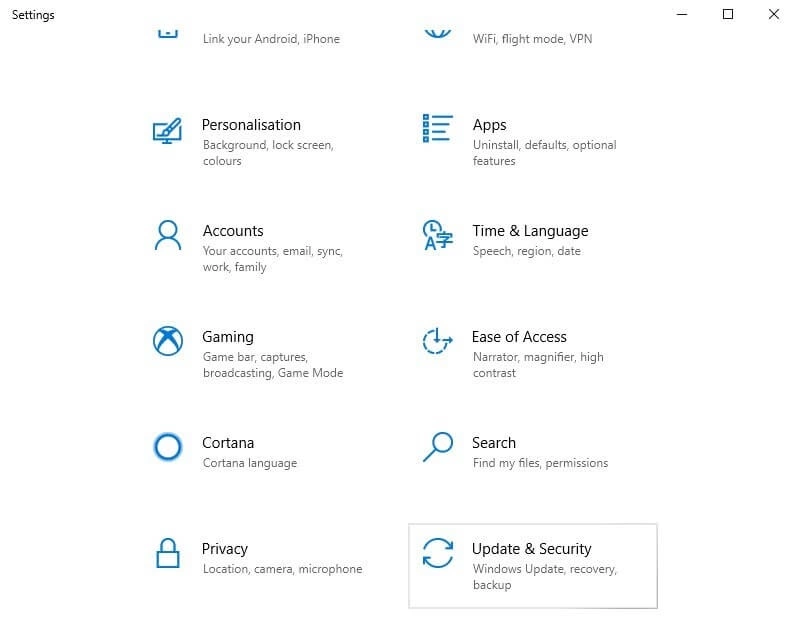
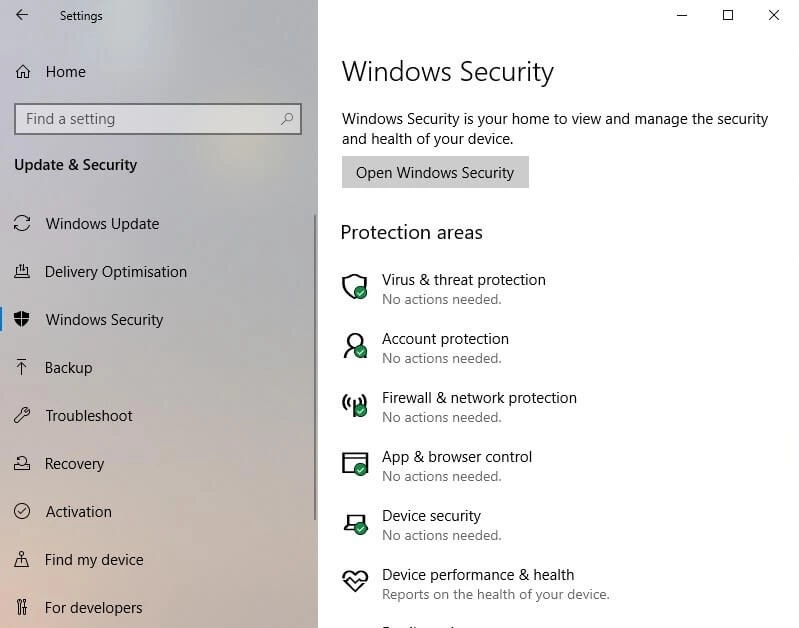
The following tutorial describes how to turn on Defender on Windows 10. The menu structure may differ somewhat in older versions of the operating system.


