Removing a PDF password: How to unlock secured PDF files with PDF24 Creator
In the article “How to encrypt and secure PDF files with a password” we look into how you can protect your PDF documents from unauthorized access with the help of the free tool PDF24 Creator. If you set up password protection in the process, a file can then only be opened after entering the defined password. Any permissions that were granted to users in the encryption process are embedded in the PDF from the time of saving.
But what if the situation changes and you no longer want the password authorization or the write protection for users? We’ll show you how to remove a PDF password and how to unlock write protection and other restrictions for users.
How to remove PDF security you set up yourself
If you’ve secured your PDF documents with special security measures, then you probably also have the right program at hand to unlock your PDF files again. A tool that lets you create, lock, and secure PDFs with a password usually also gives you the option to reverse your security settings. As mentioned in the introduction, in this tutorial we focus on the free program PDF24 Creator.
With a tool like PDF24 Creator you can also change security settings for files that you didn’t configure yourself. The prerequisite for this is that you have a password to open the secured PDF.
Tutorial: How to remove a PDF password and write protection
If you don’t already own a suitable PDF tool, your first step should be to download one and to install it. The current version of our recommended solution, PDF24 Creator, can be found on the official website of the developer Geek Software GmbH. Next, start the installation by double clicking on the downloaded file. The next steps that are required to unlock a PDF file are summarized in the below paragraphs.
Step 1: Open PDF24 Creator and import the password-protected PDF
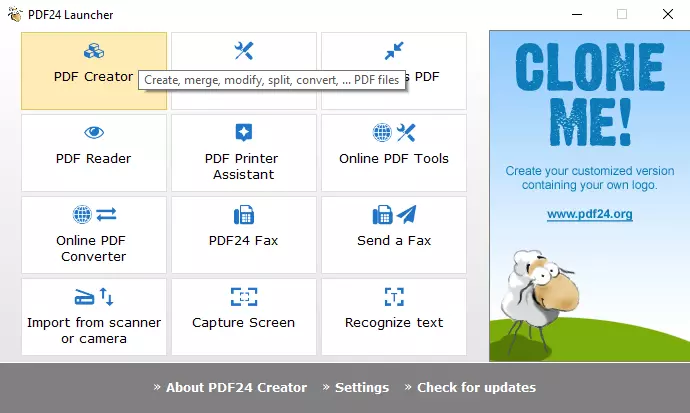
Start the “PDF24 Launcher” by either clicking on the desktop icon or the file link in the start menu. In a list of options you’ll find among other things the PDF24 Creator – in the dashboard, however, the program is named “PDF Creator” for short.
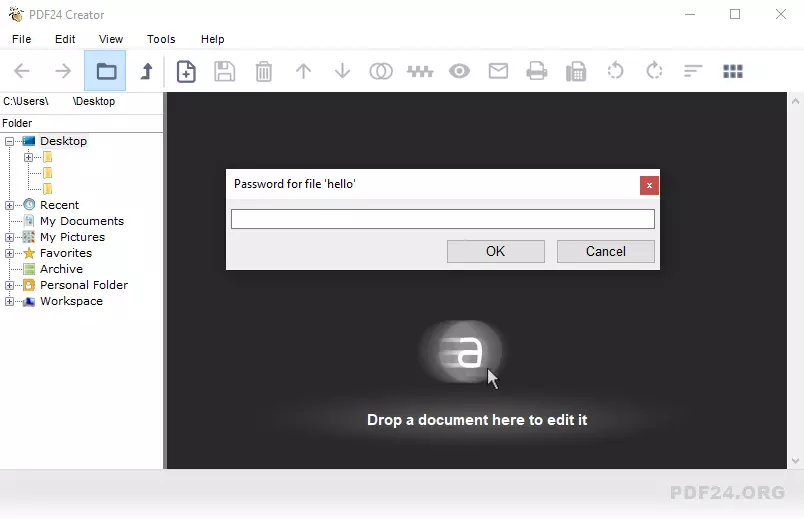
After you’ve opened PDF24 Creator, the next step is to select the PDFs that should have their password removed or their security settings adjusted. You can either import a file via drag-and-drop into the provided area or double click the frame and search for the location where the file can be found. In both cases, PDF24 Creator will ask you for the password to the selected file, which you enter for the last time:
Step 2: Select security preferences
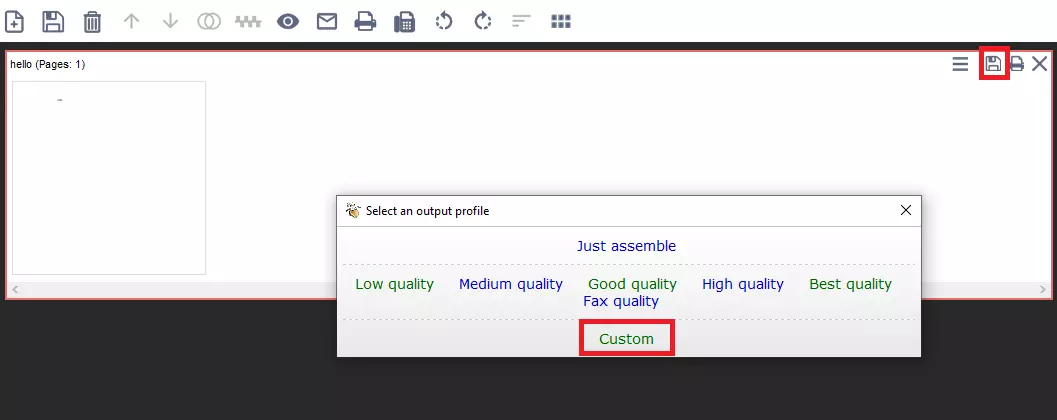
If PDF24 Creator was able to successfully import the document, it will be displayed in an external window in the tool’s editing area. Now, to remove a PDF password or to change security or access settings, click on the save symbol in the window, and select the option “custom” from the menu:
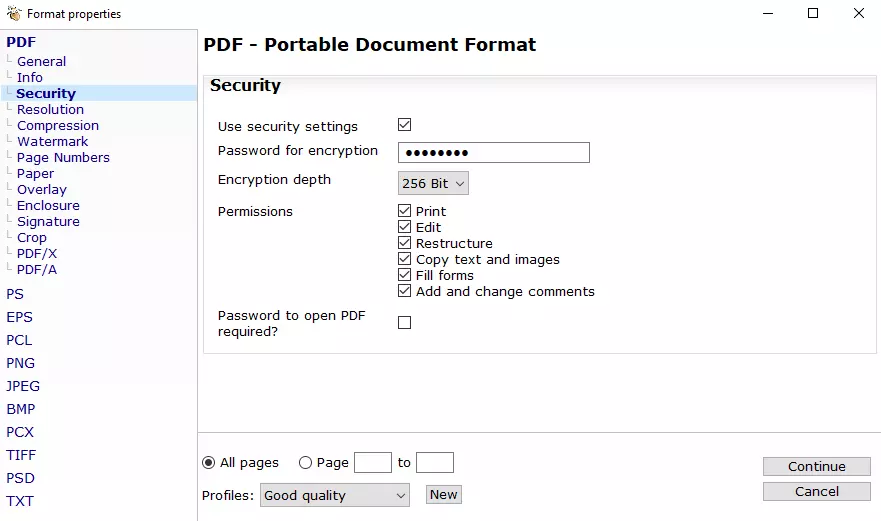
In the left navigation menu, choose the “Security” tab and select which PDF security settings you want to unlock and which features you want to keep for the file. For example, if you only want to remove the PDF password, don’t select the option “password to open PDF required,” just leave this checkbox unmarked. The same goes for the password needed to unlock an encrypted file as well as for user rights.
In our example, we decide to keep the encryption, but to remove the PDF password. In addition, people accessing the file should be able to not only read and print it, but also to edit it – in other words: The PDF’s write protection should be removed. That’s why several authorizations have been administered:
Step 3: Save the PDF
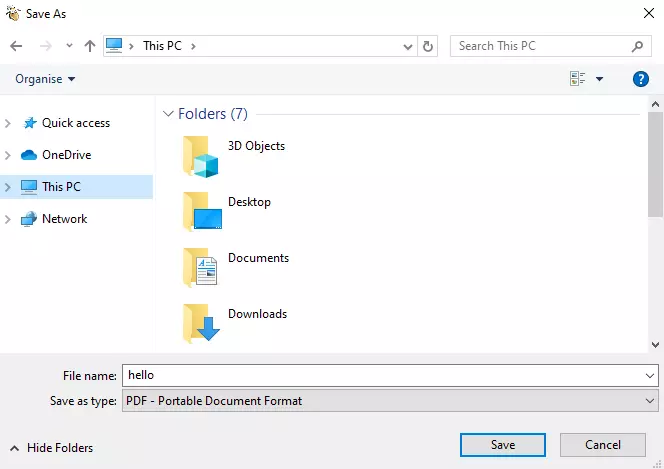
After you have removed the write protection or the PDF password, it’s time to export the file. In the security settings, click on the “Continue” button and select where you’d like to save the file on your computer or on an external storage device:
You should now be able to open the exported PDF document with your PDF viewer of choice – without you or other users having to first enter a password. And if you want to edit a PDF file with a suitable tool, you’ll be able to do that too.


