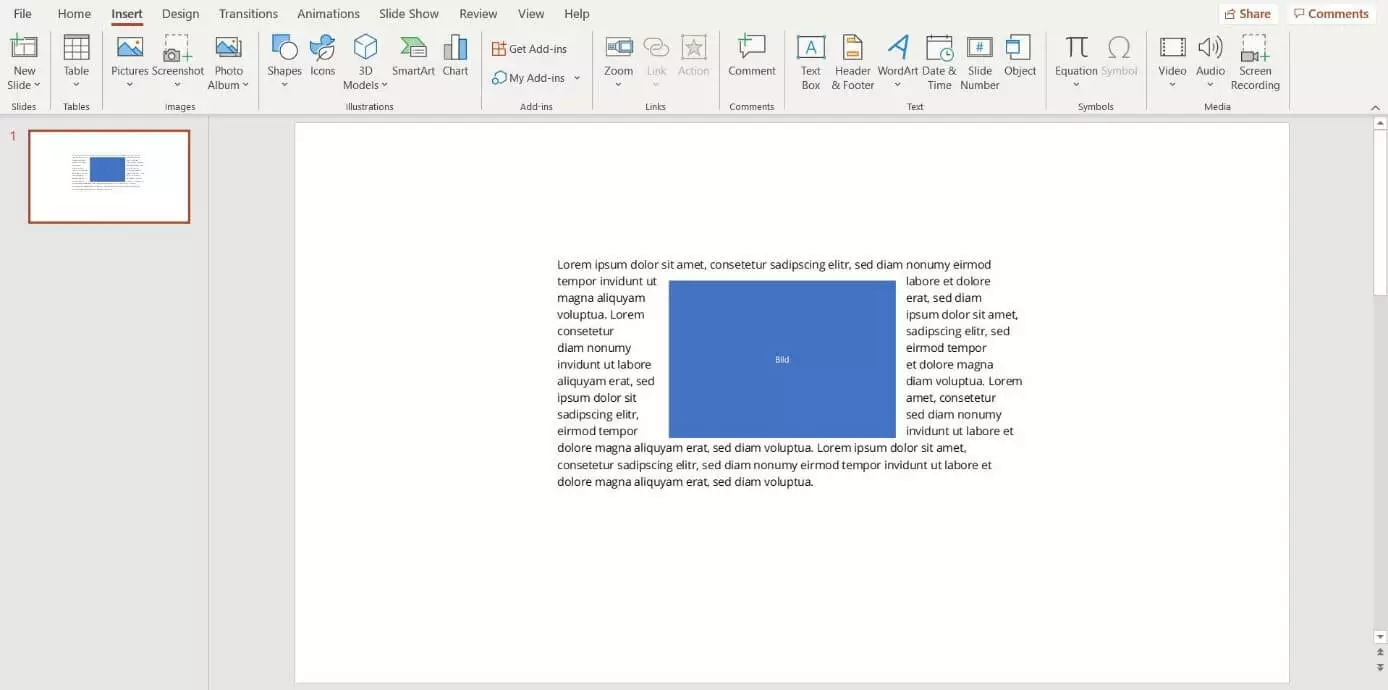
PowerPoint: how to wrap text around an image
With Microsoft PowerPoint you can create extensive presentations using numerous templates and formatting options. In just a few clicks, you can insert and format text blocks, images, objects, and other elements. However, the presentation program shows weaknesses when it comes to arranging images and text. For example, there is no automated function to wrap text around an image in PowerPoint. But there are ways to set up the desired formatting manually or in conjunction with the word processing program Microsoft Word. We’ll explain how to get text to wrap around a picture in PowerPoint.
Option 1: Place text around an image directly in PowerPoint
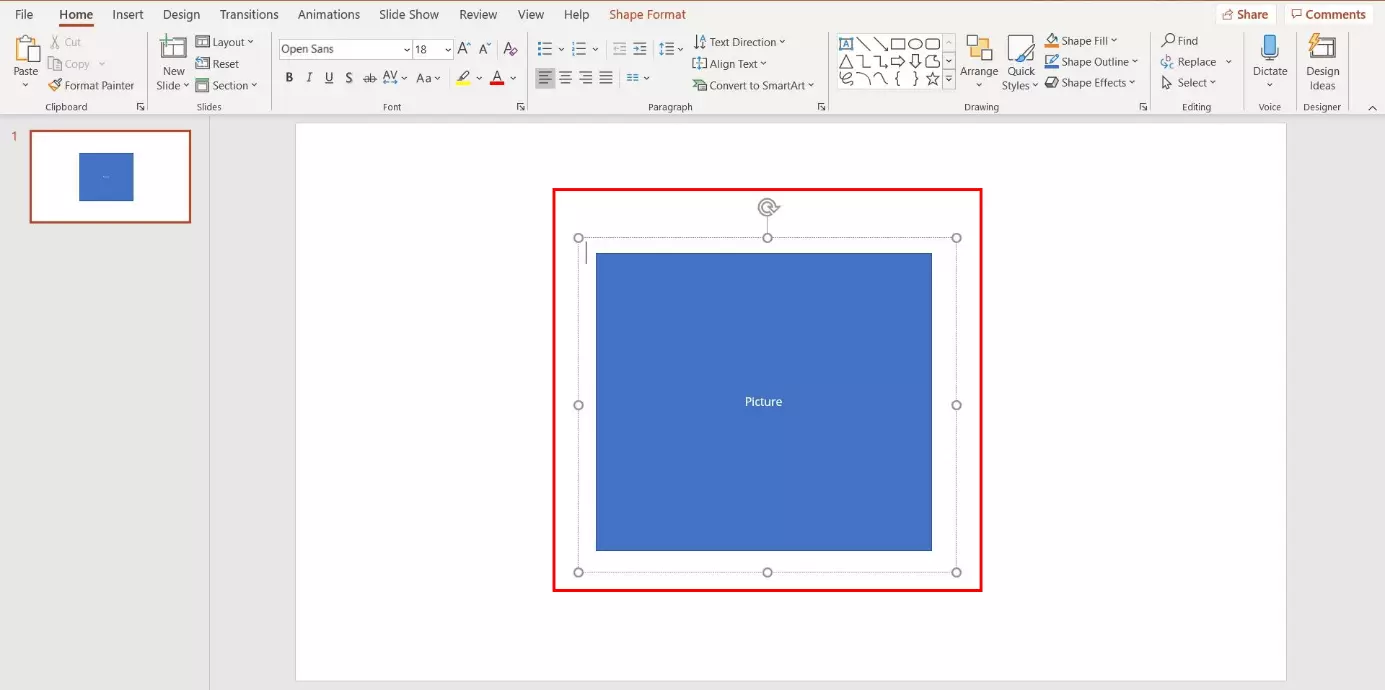
Unfortunately, there is no integrated function to get the text to flow around an image in PowerPoint. Below, we’ll show you how to work around the problem and manually arrange the text around a graphic or other element, step by step.
Our guides provide tips and tricks to additional topics on all things PowerPoint, such as PowerPoint shortcuts, PowerPoint macros, PowerPoint portrait view, as well as instructions on how to insert a Word document into PowerPoint.
Step 1: Insert image
The first thing you should do is insert the image into the desired slide of your presentation. Select “Insert” from the menu in the top tab. Next, open the drop-down menu titled “Pictures” and select the location where the image is saved. PowerPoint will now insert the selected image into the current slide.
Step 2: Insert text box
Step 3: Insert text
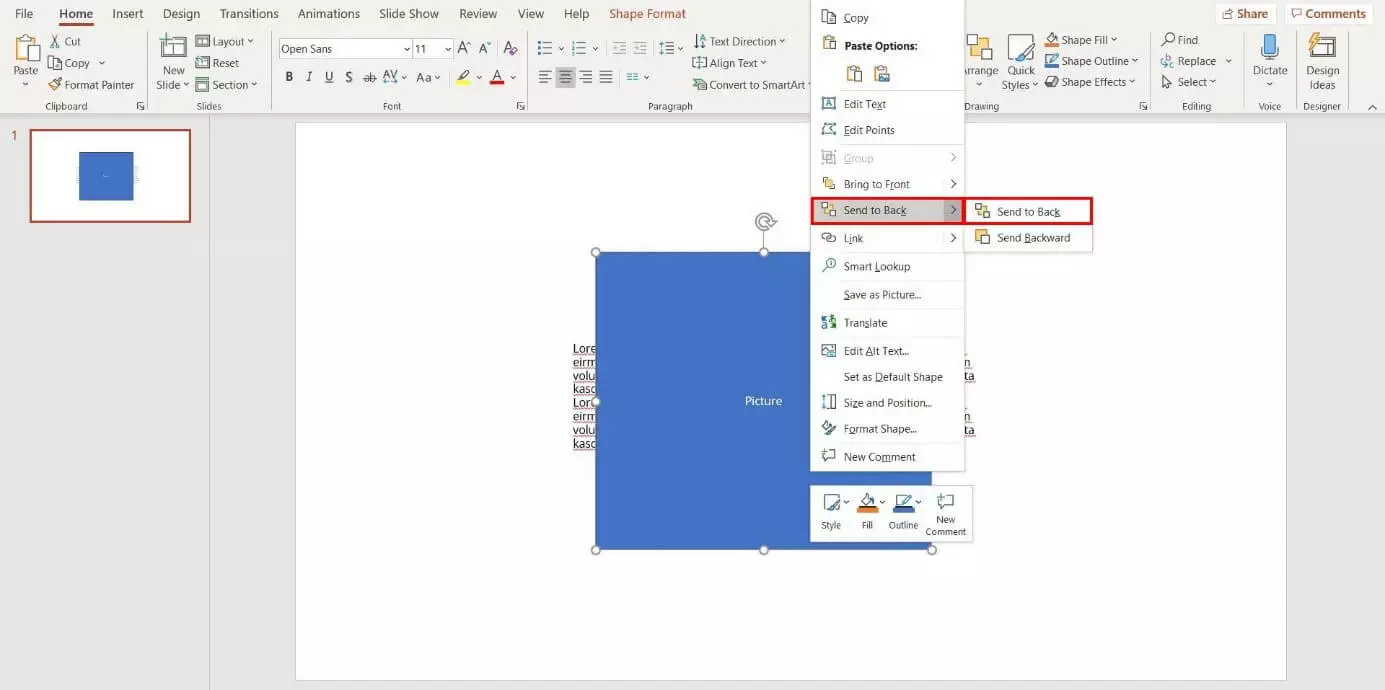
Now, insert the text you want to include inside the text box or paste the text from the clipboard by using the key combination [Ctrl] + [V]. With several elements on the slide, you have the option to choose the objects that should be in the forefront. In this case, the text must be arranged in front of the image, to make sure that it’s legible. If this isn’t the case, right-click on the image and launch the context menu. Here, move your mouse to the option “Send to Back” and then select the option with the same name in the next tab by left-clicking.
Step 4: Wrapping text around an image in PowerPoint
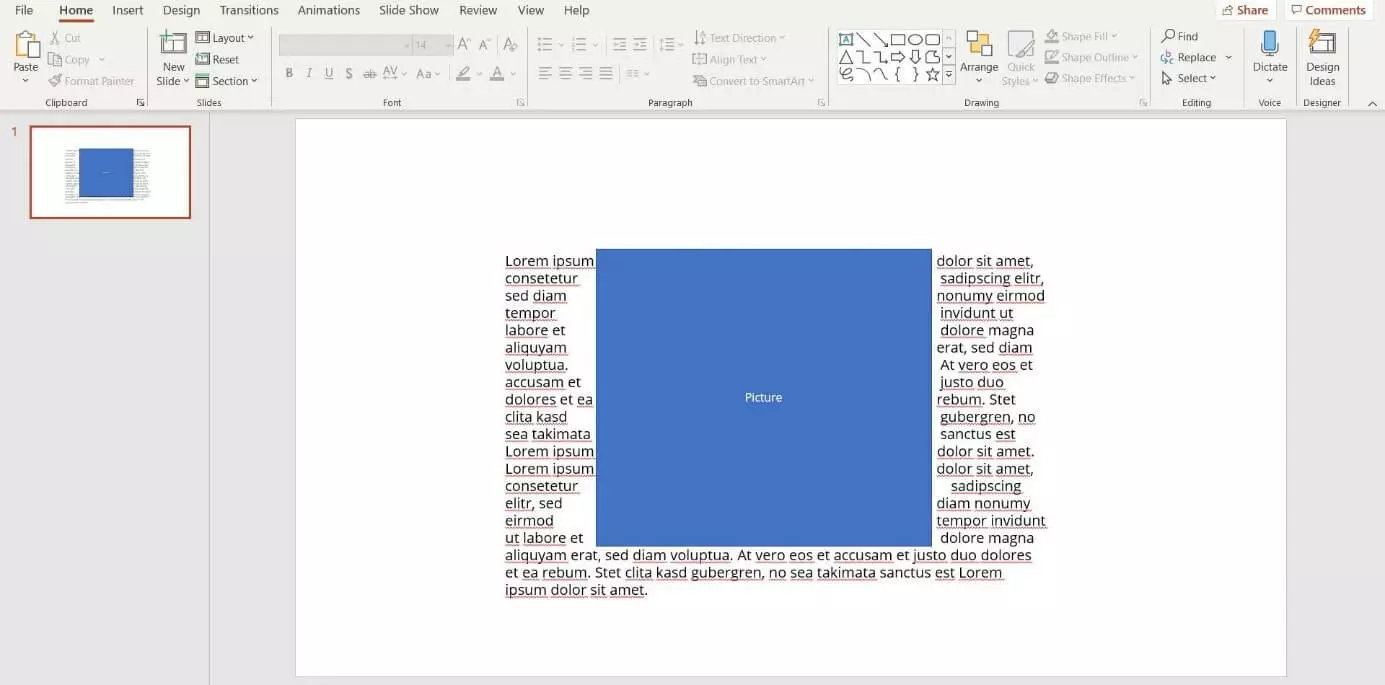
Finally, to get the text to wrap around the picture in PowerPoint it’s necessary to manually arrange the text around the picture. In doing so, insert spaces in the text segment where the text is covering the image. This method requires a little time and restraint to achieve an optically appealing result.
Finalize the text before adding your spaces. Every additional change means additional effort, since the line breaks will shift and the spaces will have to be placed in different locations.
Alternative option: insert several text boxes
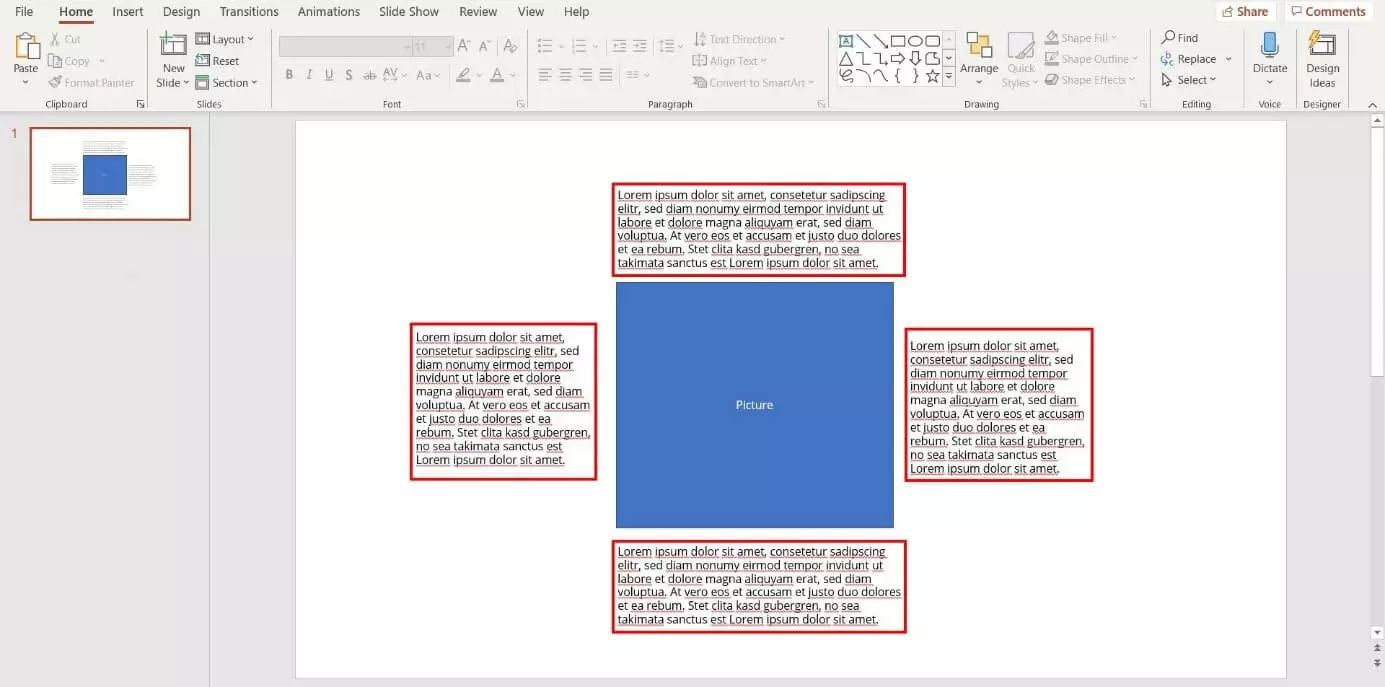
A faster alternative involves breaking up the text into four text boxes. After doing this, you can arrange the four paragraphs around the picture. The advantages of this method include improved legibility and a faster implementation.
Option 2: Copy the text and image from Word
Word offers an integrated function to wrap text around an image. PowerPoint allows you to import these elements from a Word file and insert them into a slide. This means you can format the text and image to your liking in a word file before pasting the batch into a PowerPoint presentation. We’ll take you through the process step by step to show you how to wrap text around an image in PowerPoint.
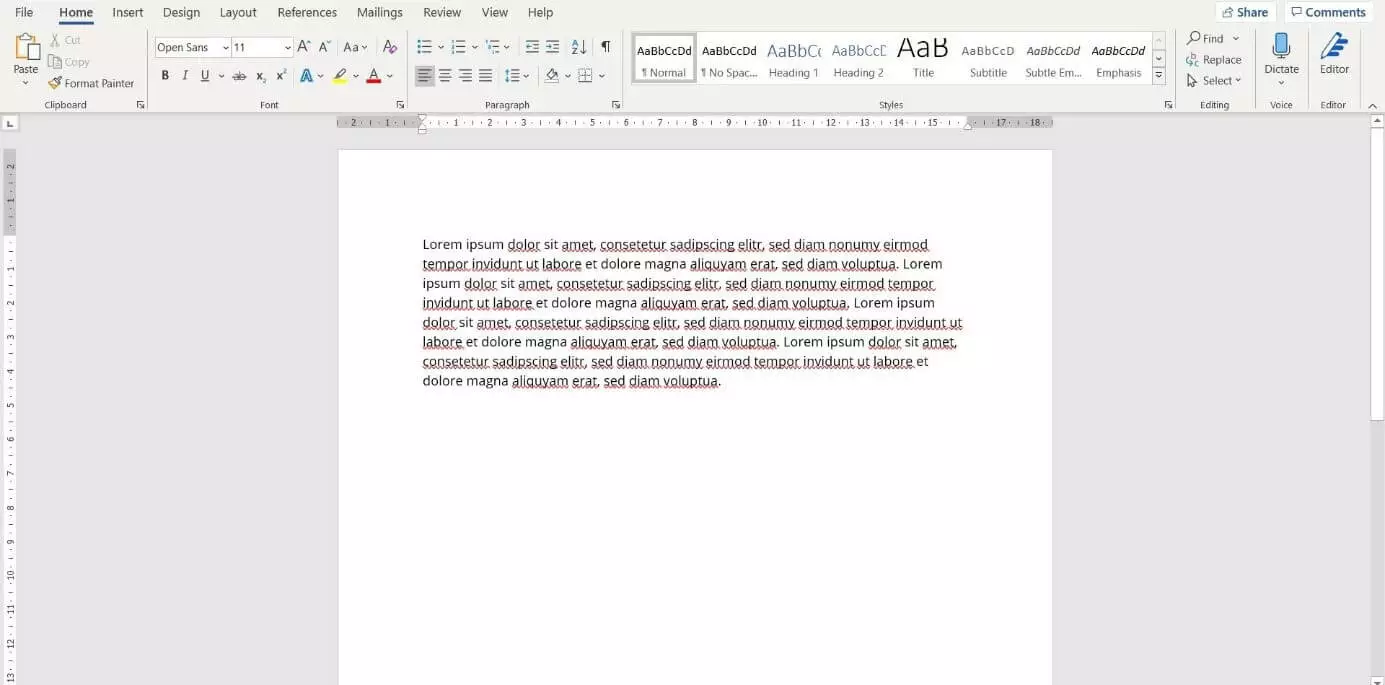
Step 1: Insert text into Word
Step 2: Insert image in Word
Step 3: Wrapping text around an image
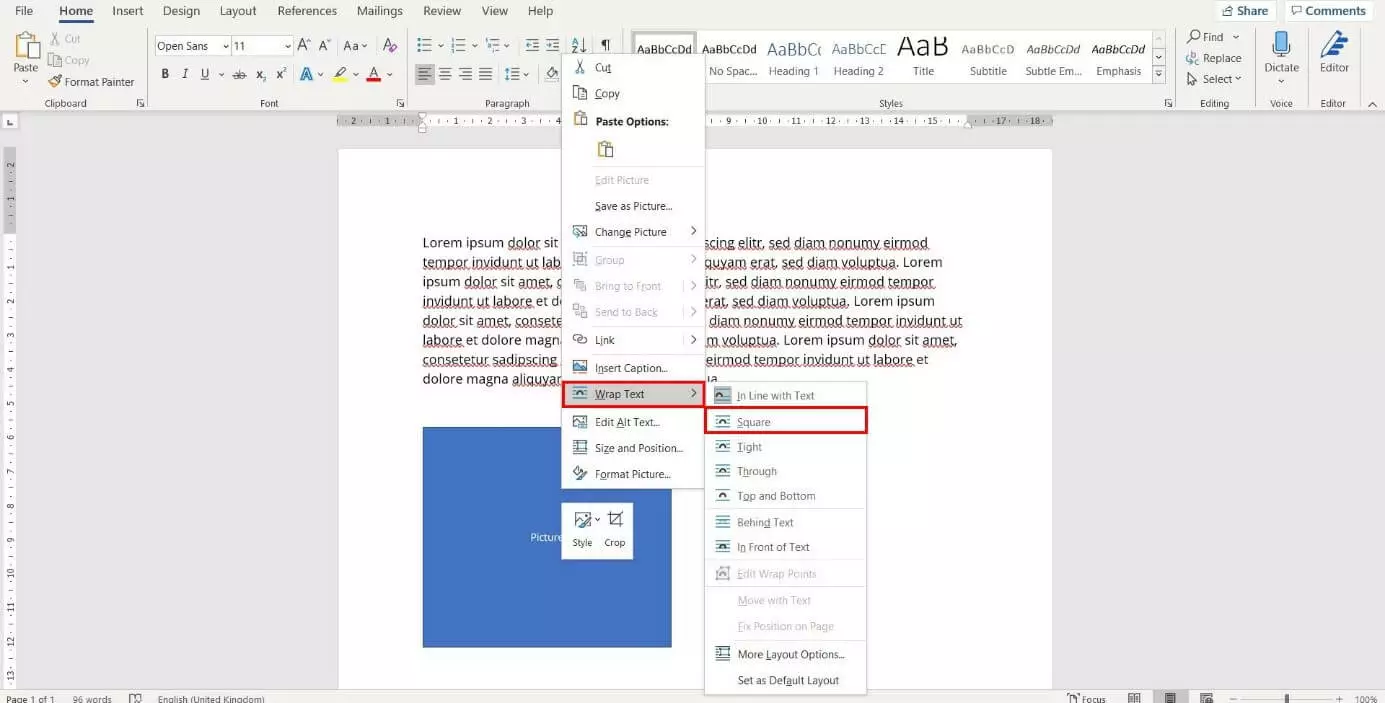
In Word, you have multiple options when it comes to arranging your image and text. To select one of these, right-click on the image. In the context menu, hold your cursor over the option “Wrap Text” to view all available options. Select “Square” from the selection of formatting options. Now, you’re ready to wrap the text around the image in PowerPoint.
Step 4: Set formatting
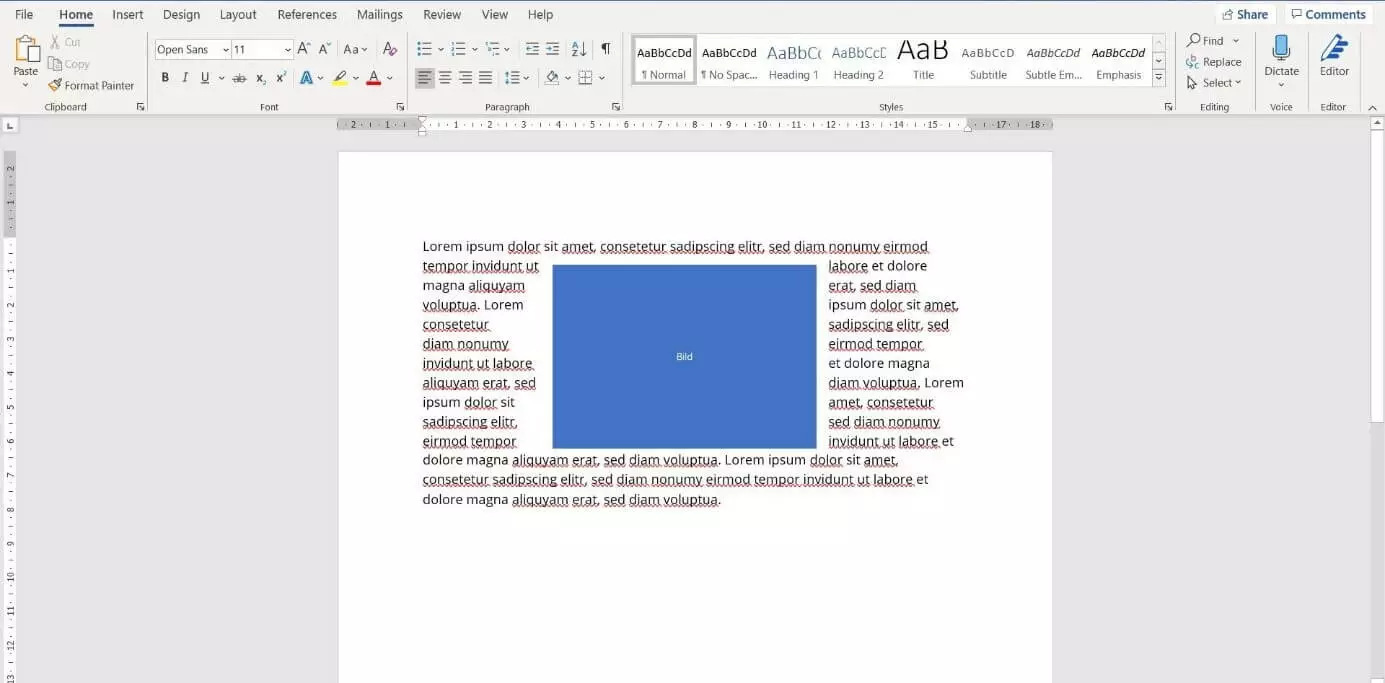
Now, left-click to select the image and pull it to the desired location within the text. Word automatically takes care of the selected formatting option and wraps the text around the image. In PowerPoint, your choice of formatting will be carried over.
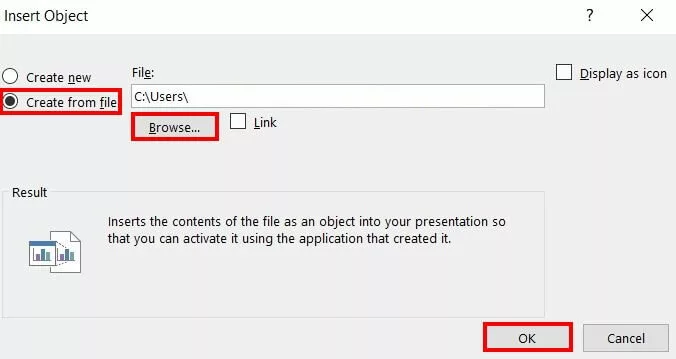
Step 5: Insert text around an image in PowerPoint
Step 6: Format object
PowerPoint will now insert the text from the Word file into your current slide. Next, you can customize the size and arrangement of the object. To change the text, select the object by double-clicking on it. Now you can change the text and its formatting as usual.
Use the latest version of Microsoft 365 with up to five installations per user and centralized functions like an address book, calendar, and online status.


