Install WordPress with XAMPP quickly
Want to create a website or blog in WordPress, but don't want to do it directly on the server? The alternative is to install WordPress in XAMPP. Read on to find out how to set up a WordPress installation in a few steps.
- Simple registration
- Premium TLDs at great prices
- 24/7 personal consultant included
- Free privacy protection for eligible domains
WordPress XAMPP installation
With XAMPP you can quickly and easily set up your own web server on your local computer. The letters in the name represent its core components:
- X stands for the different operating systems like Windows, Linux, or Mac that XAMPP is compatible with.
- A stands for the cross-platform Apache web server.
- The M indicates the included MySQL/Maria database.
- The two Ps in the name stand for the scripting languages Perl and PHP.
Thus, you have all the important components in one program to install WordPress with XAMPP locally.
Advantages of a local WordPress XAMPP installation
Whether it's a new site or changes to an existing site, it’s always recommended to modify your website in a local test environment. If the WordPress installation is implemented locally in a test environment with XAMPP, adjustments can be made and viewed before the website goes live. Even if you’re making updates to plugins or WordPress itself, a separate environment is advantageous. If a website no longer functions due to an update, you can find and fix the source of the error.
Should you make adjustments directly on the live server, don't forget to enable WordPress maintenance mode during the website edits.
Another advantage is that you can easily modify WordPress offline and on the go thanks to XAMPP. All changes are made in the browser, which means you don't need an Internet connection.
Additionally, an installation of WordPress in XAMPP offers the possibility to export pages and posts as static HTML pages. This not only protects the administration area from potential hacker attacks, but also ensures an improved load time of your website. With plugins like Simple Static or Export WP Page to Static HTML/CSS you can quickly and easily convert your website into a static page.
To protect your website and settings from hackers, it is advisable to rename the login URL wp-login. The default URL with /wp-admin is a popular target for attackers. By renaming it you can avoid potential attacks.
WordPress & XAMPP: requirements for a local installation
The requirement to install WordPress in XAMPP is a local AMP stack on the hard drive – AMP stands for Apache, MySQL, and PHP. All these components are already included in XAMPP for WordPress installation which speeds up the setup.
Want to create more than one website? Secure an additional domain with IONOS.
How to install WordPress with XAMPP – step by step
Find out how to install WordPress with XAMPP in our step-by-step guide below.
Step 1: Download and install XAMPP
Download the appropriate version of XAMPP download for your operating system free of charge from the Apache Friends website. Depending on your operating system, click on the .exe or .dmg file and begin the installation. The preselected components will be suitable to install WordPress in XAMPP.
You can find detailed step-by-step instructions on how to install XAMPP in our XAMPP tutorial.
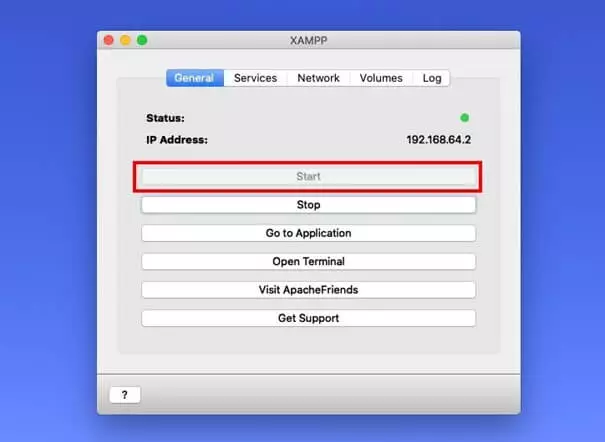
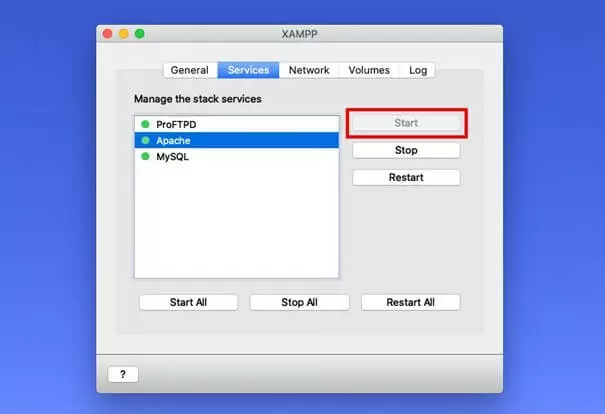
Step 2: Launch the module
Step 3: Change MySQL/MariaDB password
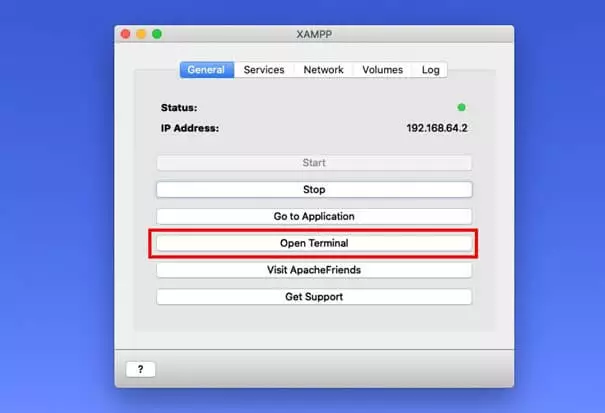
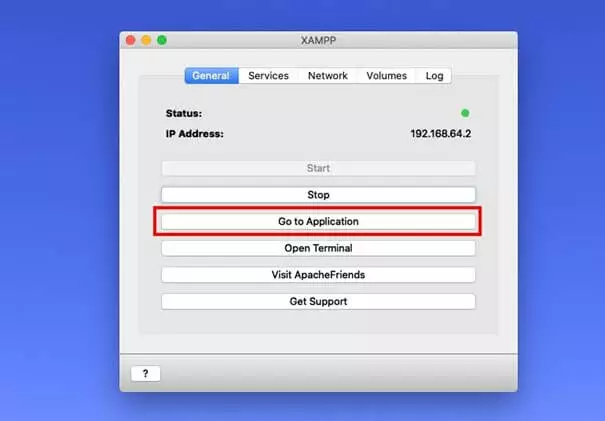
The MySQL/MariaDB installation in XAMPP comes with an empty password. To close this security gap, assign a password. This way the database for WordPress in XAMPP is protected from potential attacks. To do this, simply click on “Open Terminal” in “General”.
A new terminal window will open where you can enter the following code:
Enter your chosen password for newpassword.
Step 4: Activate and call localhost
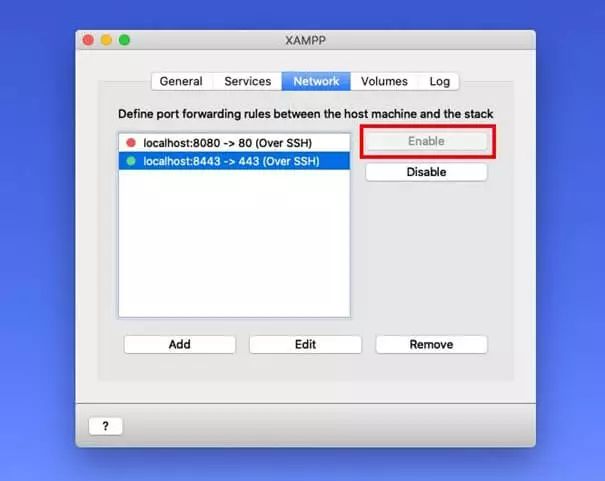
From the “Network” tab, enable a localhost address. To do this, select the corresponding localhost and click the “Enable” button.
- Create & customize your site with AI tools made for everyone
- 3x faster: SSD, caching & more
- Daily security scans, DDoS protection & 99.98% uptime
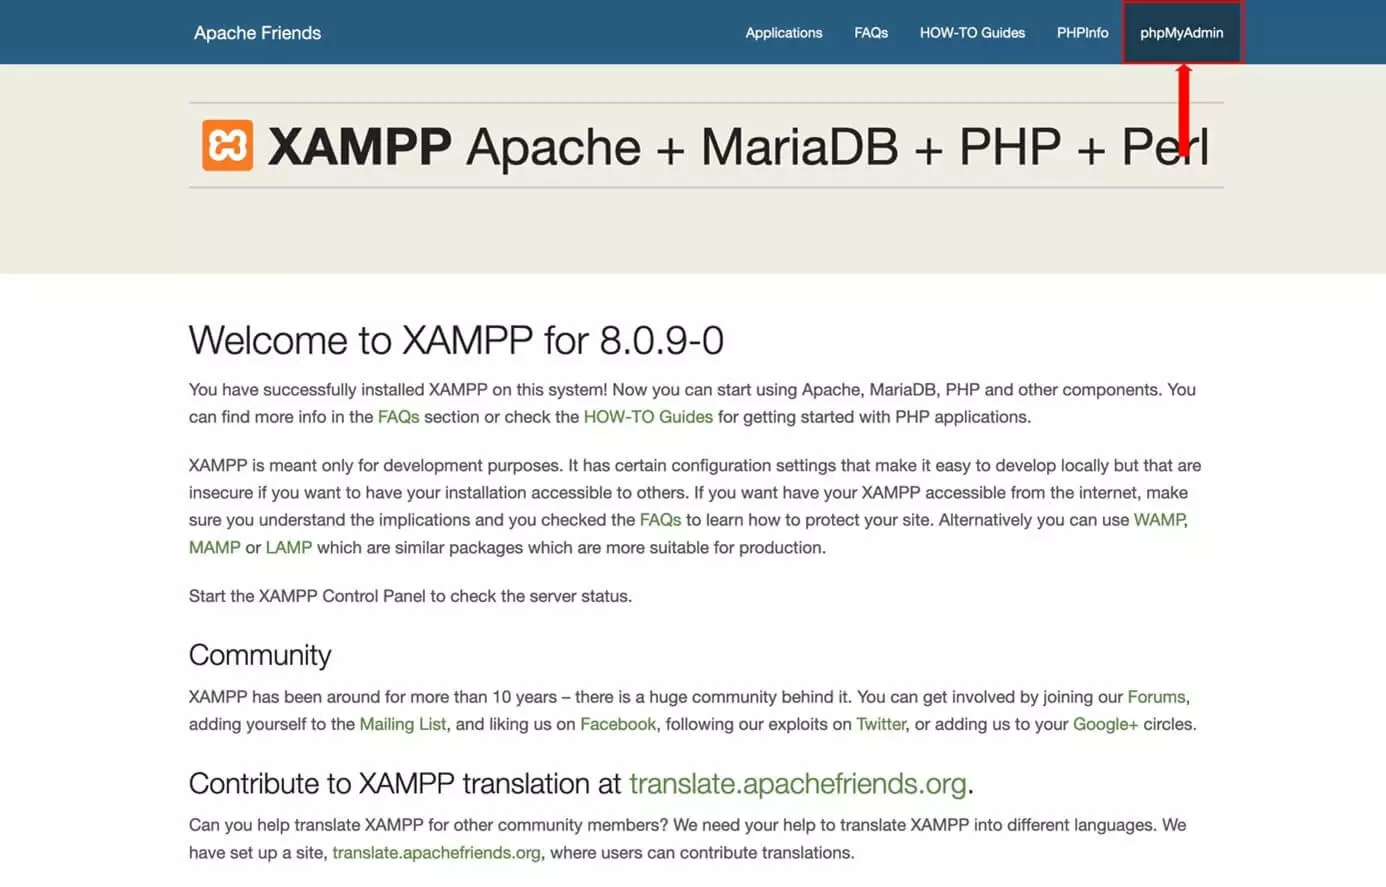
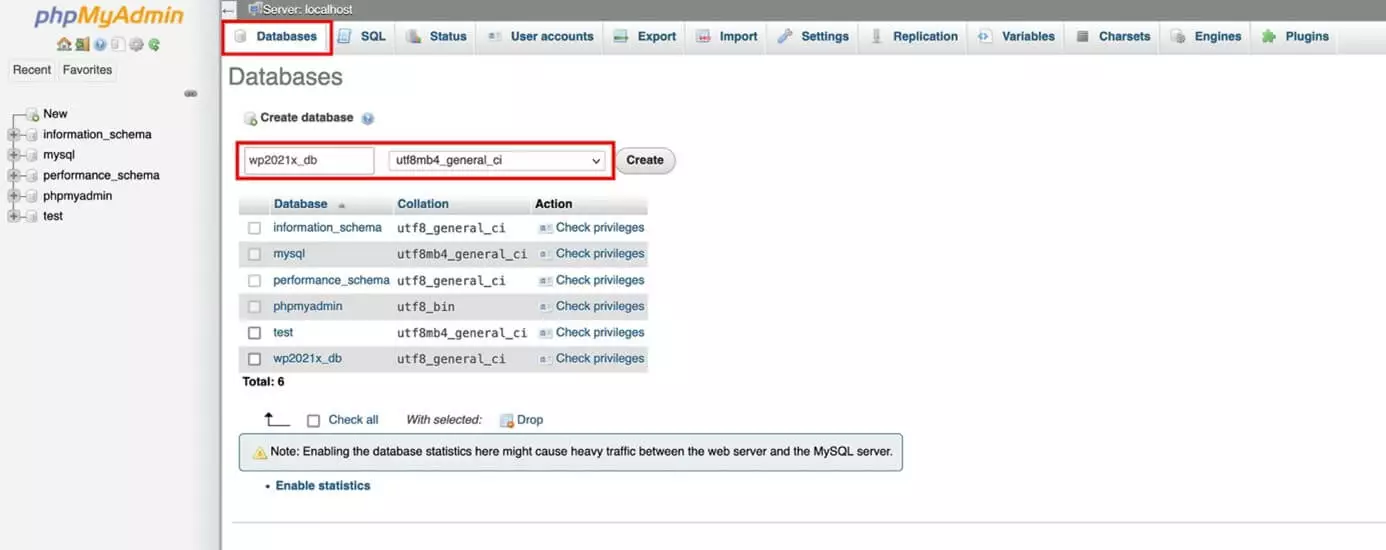
Step 5: Create MySQL databank with phpMyAdmin
Step 6: Download and install WordPress
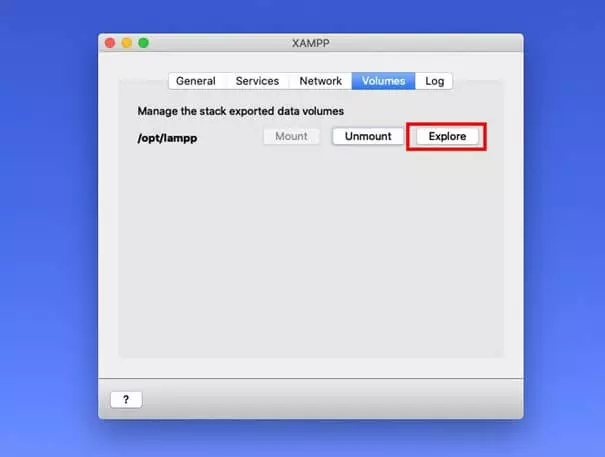
To install WordPress, download the latest WordPress version. Unzip the ZIP file and click the “Explore” button in XAMPP from the “Volumes” tab.
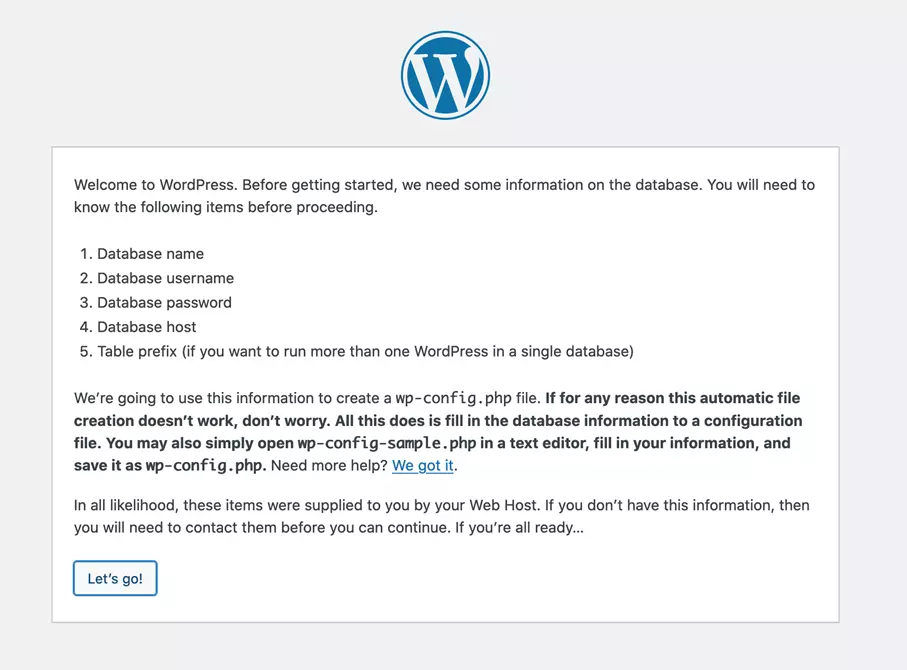
Use the URL "https://localhost:8443/VERZEICHNISNAME" to access the setup page for WordPress in XAMPP. In our example, the address is "https://localhost:8443/wp_local".
Follow the instructions on screen and enter your chosen database name, your WordPress username (usually “root”) and the database password.
Once you are done with your website or customizations in the local test environment, you can migrate the site to the server in WordPress.
Use WordPress Hosting by IONOS for your website. Enjoy security and optional Site Scan & Repair with the Managed WordPress package.


